Published on:
5 min read
By Jack Turner · DIY & Repairs Contributor
Restoring My Old Wooden Deck: A Personal Journey
Taking on the challenge of restoring my old wooden deck was no small feat. Here's how I gave it a new lease on life with practical repairs and refinishing tips based on my own experience.
Why I Decided to Restore My Old Wooden Deck
Our wooden deck was the heart of our backyard, but after years of neglect, it was looking worse for wear. The boards were faded, splintered, and a few wobbled underfoot. I knew it was time for a change. This wasn't just about aesthetics; it was about safety and extending the life of our outdoor space. I took on the challenge of restoring it, armed with a few basic tools and a lot of determination. In this article, I'll walk you through my process—what worked, what didn't, and what I'd recommend if you're considering tackling a similar project.
Assessing the Damage and Planning the Project
To get started, I had to assess just how much damage I was dealing with. I took a slow walk across the deck, pinpointing the areas that needed the most attention. My list included replacing about 10 warped boards, sanding down splinters, and fixing two loose railing posts. I budgeted roughly $200 for new wood and supplies.
I spent a weekend planning my approach. I watched a couple of DIY videos to gather techniques, but quickly realized that every deck is different and I'd need to adjust advice to fit my own situation. My goal was to complete the job over two weekends: one for repairs, another for refinishing.
I also considered the weather, aiming for a dry spell as rain could disrupt the refinishing process. With a solid plan and the right tools, I felt ready to tackle the task. However, I was prepared for a few hiccups along the way, as DIY projects often take unexpected turns.
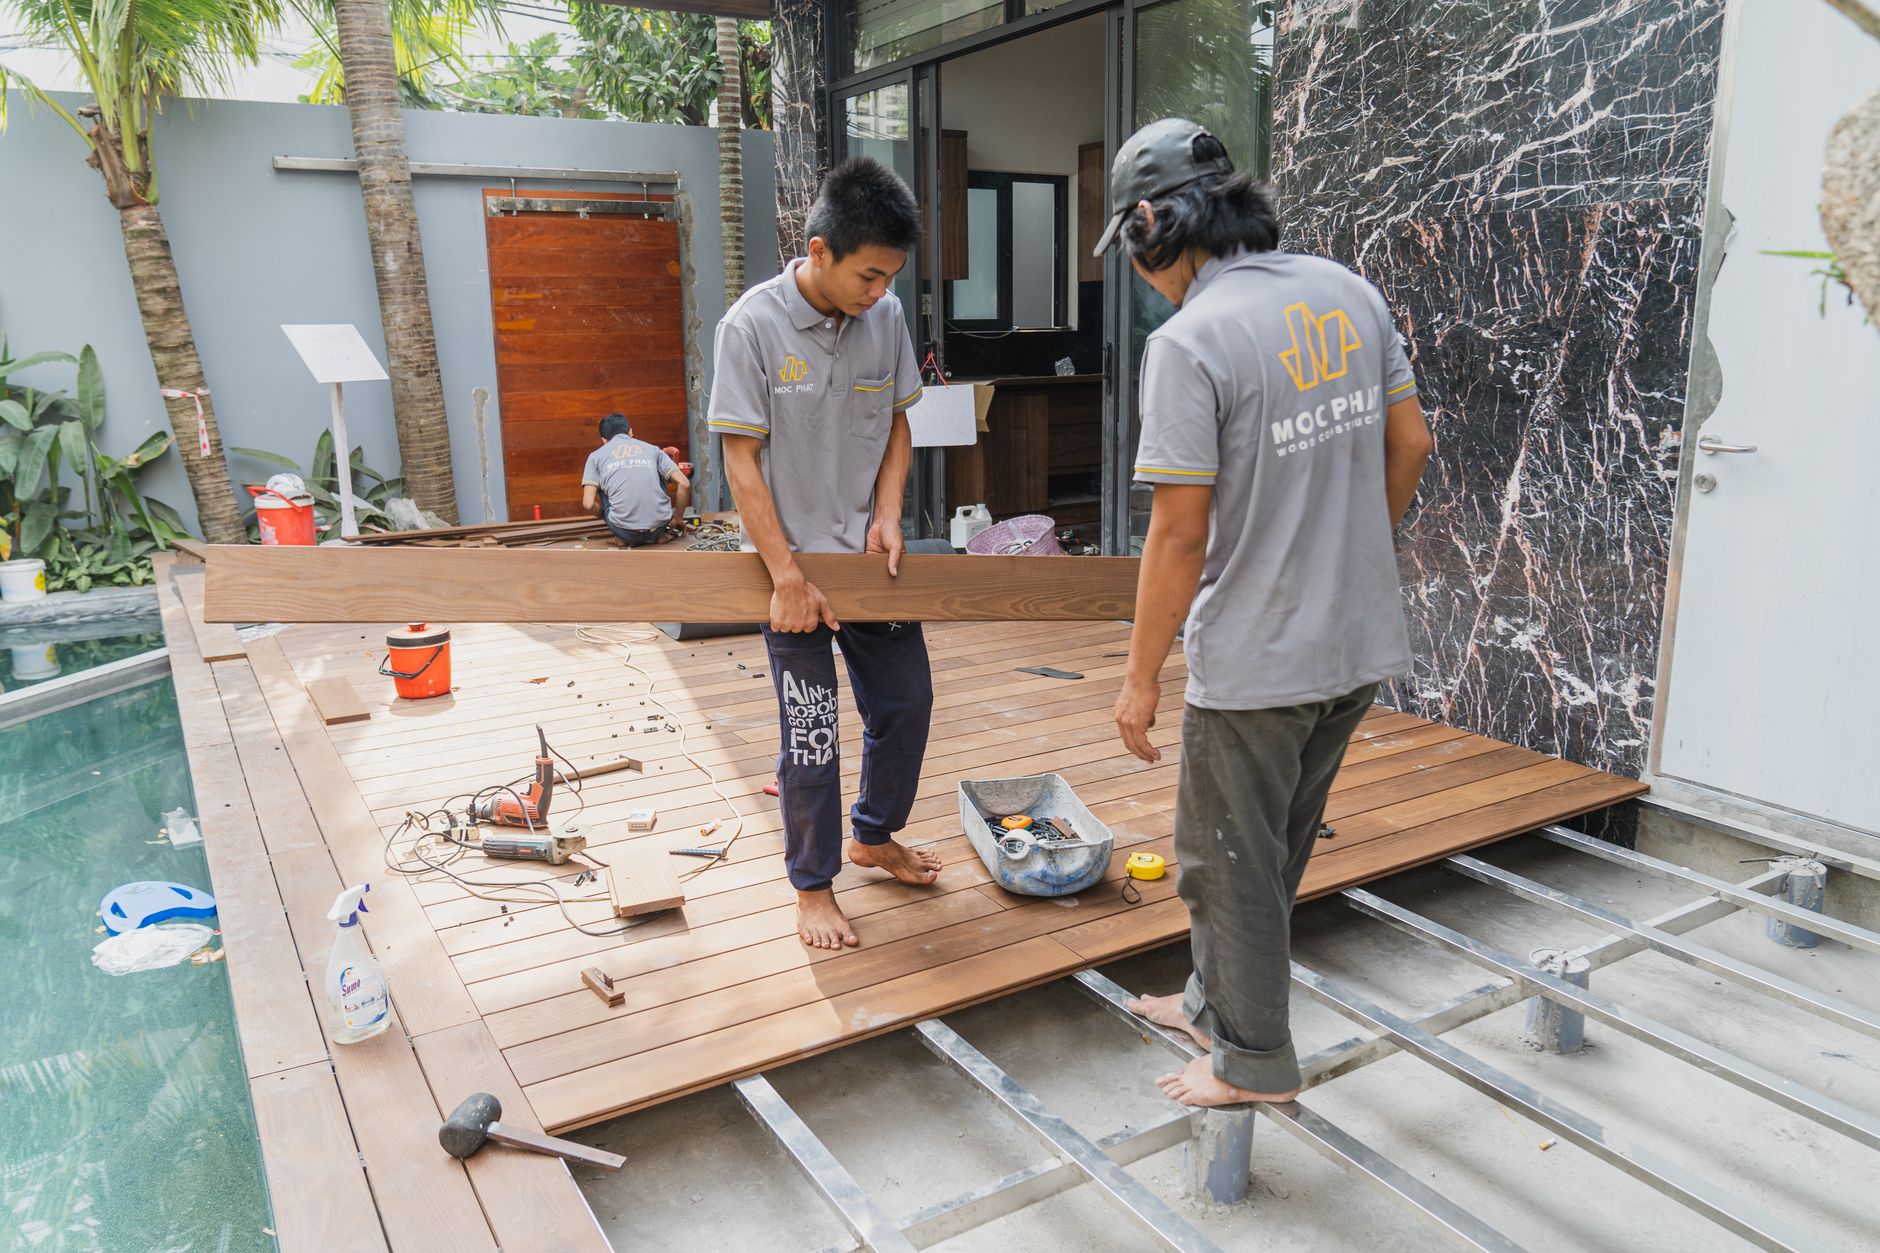
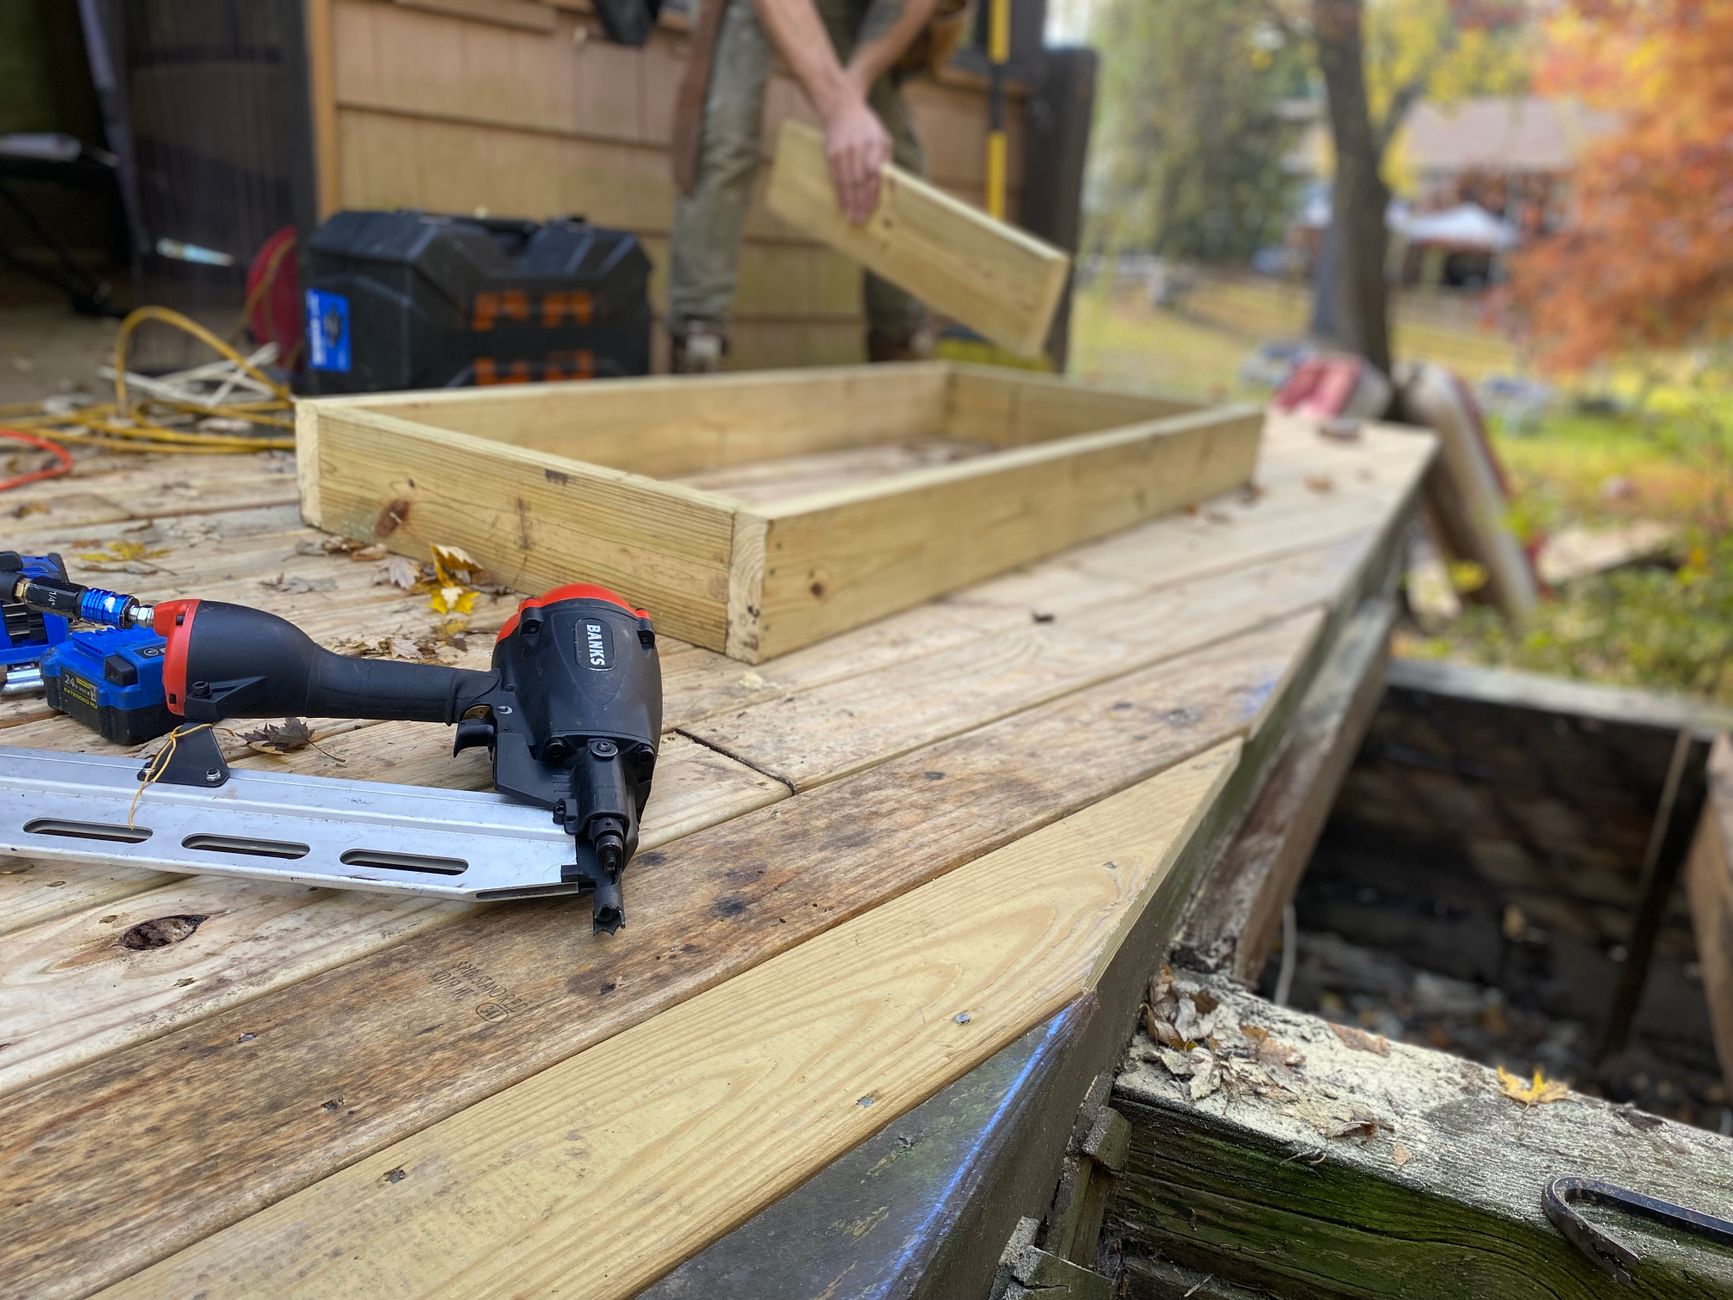
Replacements and Repairs: Getting Down to Work
The first weekend was all about the heavy lifting. I started by removing the damaged boards using a pry bar and a cordless drill. It took me about 4 hours to carefully lift out the old boards without causing further damage to the surrounding wood. I replaced them with pressure-treated lumber, which cost about $15 per board.
Next, I tackled the loose railing. The posts had shifted due to years of settling. I realigned them and used a post level to ensure they were straight before securing them with new carriage bolts. This took another 3 hours, and I learned the hard way to pre-drill holes to prevent splitting the wood.
Sanding was the most tedious part of the repairs. Armed with a random orbital sander and 80-grit sandpaper, I spent about 5 hours smoothing out splinters and rough patches. I wore a dust mask to protect myself from the fine particles. By the end of the day, my arms were tired, but the deck already looked and felt much improved.
I also discovered some minor water damage around the edges of the deck, which I treated with a wood preservative to prevent further decay. I didn’t initially plan for this, but it added an extra layer of protection.
Choosing the Right Finish: A Comparison
In the end, I chose a semi-transparent stain. It provided a nice balance between protection and allowing the character of the wood to show through. Application took about 6 hours with a roller and brush for the edges. I found that working in the early morning when it was cooler helped the stain dry more evenly.
I considered the longevity of each option. While a solid stain offered better protection, it obscured the wood's natural beauty. The semi-transparent stain, however, should be reapplied every 3-5 years, based on manufacturer recommendations, to maintain its protective qualities.
| Option | Protection Level | Appearance |
|---|---|---|
| Clear Sealant | Low | Natural wood look |
| Semi-Transparent Stain | Medium | Enhances wood grain |
| Solid Stain | High | Fully covers wood grain |
Step-by-Step: How I Restored My Deck
- Begin by assessing the condition of your deck thoroughly.
- Remove and replace damaged boards using a pry bar and drill.
- Secure loose railings with carriage bolts, ensuring proper alignment.
- Sand the surface with an orbital sander, starting with 80-grit sandpaper.
- Choose the right finish for your needs; I opted for semi-transparent stain.
- Apply stain in cooler temperatures to ensure even drying.
- Allow at least 24 hours for the stain to dry before using the deck.
Q&A: Common Questions About Deck Restoration
Q: How do I know when a board needs replacing?
If the board is warped, cracked, or doesn't feel secure underfoot, it's a candidate for replacement.
Q: Is it necessary to sand the entire deck?
Not the entire deck, but any areas that are splintered or rough to the touch should be smoothed out. Be sure to focus on high-traffic areas.
Q: Do I need to seal the deck after staining?
No, if you use a stain that includes a sealer, additional sealing isn't required. Always check the product label for this feature.
Q: Can I do this project alone?
Yes, but having an extra pair of hands can make the process faster, especially with heavy lifting. It also helps with managing tools and supplies efficiently.
EditorialOur Take
Restoring a wooden deck is a rewarding project if you're prepared to put in the effort. It's not a quick job, and there's a learning curve, but the result is a safer, more beautiful outdoor space. For those who enjoy hands-on projects and aren't afraid to get their hands dirty, this is a great way to improve your home without hiring a professional. However, if your deck is severely damaged, it might be worth consulting with an expert to avoid costly mistakes.
I also found the process quite therapeutic, offering a great sense of accomplishment. If you're someone who appreciates craftsmanship and the satisfaction of DIY, this project is well worth it. On the other hand, if you're short on time or not confident in your repair skills, hiring a professional might save you from potential frustration.
Published on .
Share now!

Jack Turner
DIY & Repairs Contributor
Jack Turner writes Dailynib's simple-repair guides. He believes most small household fixes are far less scary than they look once someone shows you the steps. Jack focuses on safe, beginner-friendly repairs that don't need a pro. Jack uses AI tools to research, draft, and help keep these articles accurate.
More from Jack →The information on this site is of a general nature only and is not intended to address the specific circumstances of any particular individual or entity. It is not intended or implied to be a substitute for professional advice.
Get our best tips in your inbox
A short, practical email now and then. No spam, and you can unsubscribe anytime.