Published on:
5 min read
By Jack Turner · DIY & Repairs Contributor
How to Repair Cracks in Concrete Driveways
I tackled the unsightly cracks in my concrete driveway with a few expert tips. Here's how I did it and what I learned along the way.
Facing the Cracked Reality
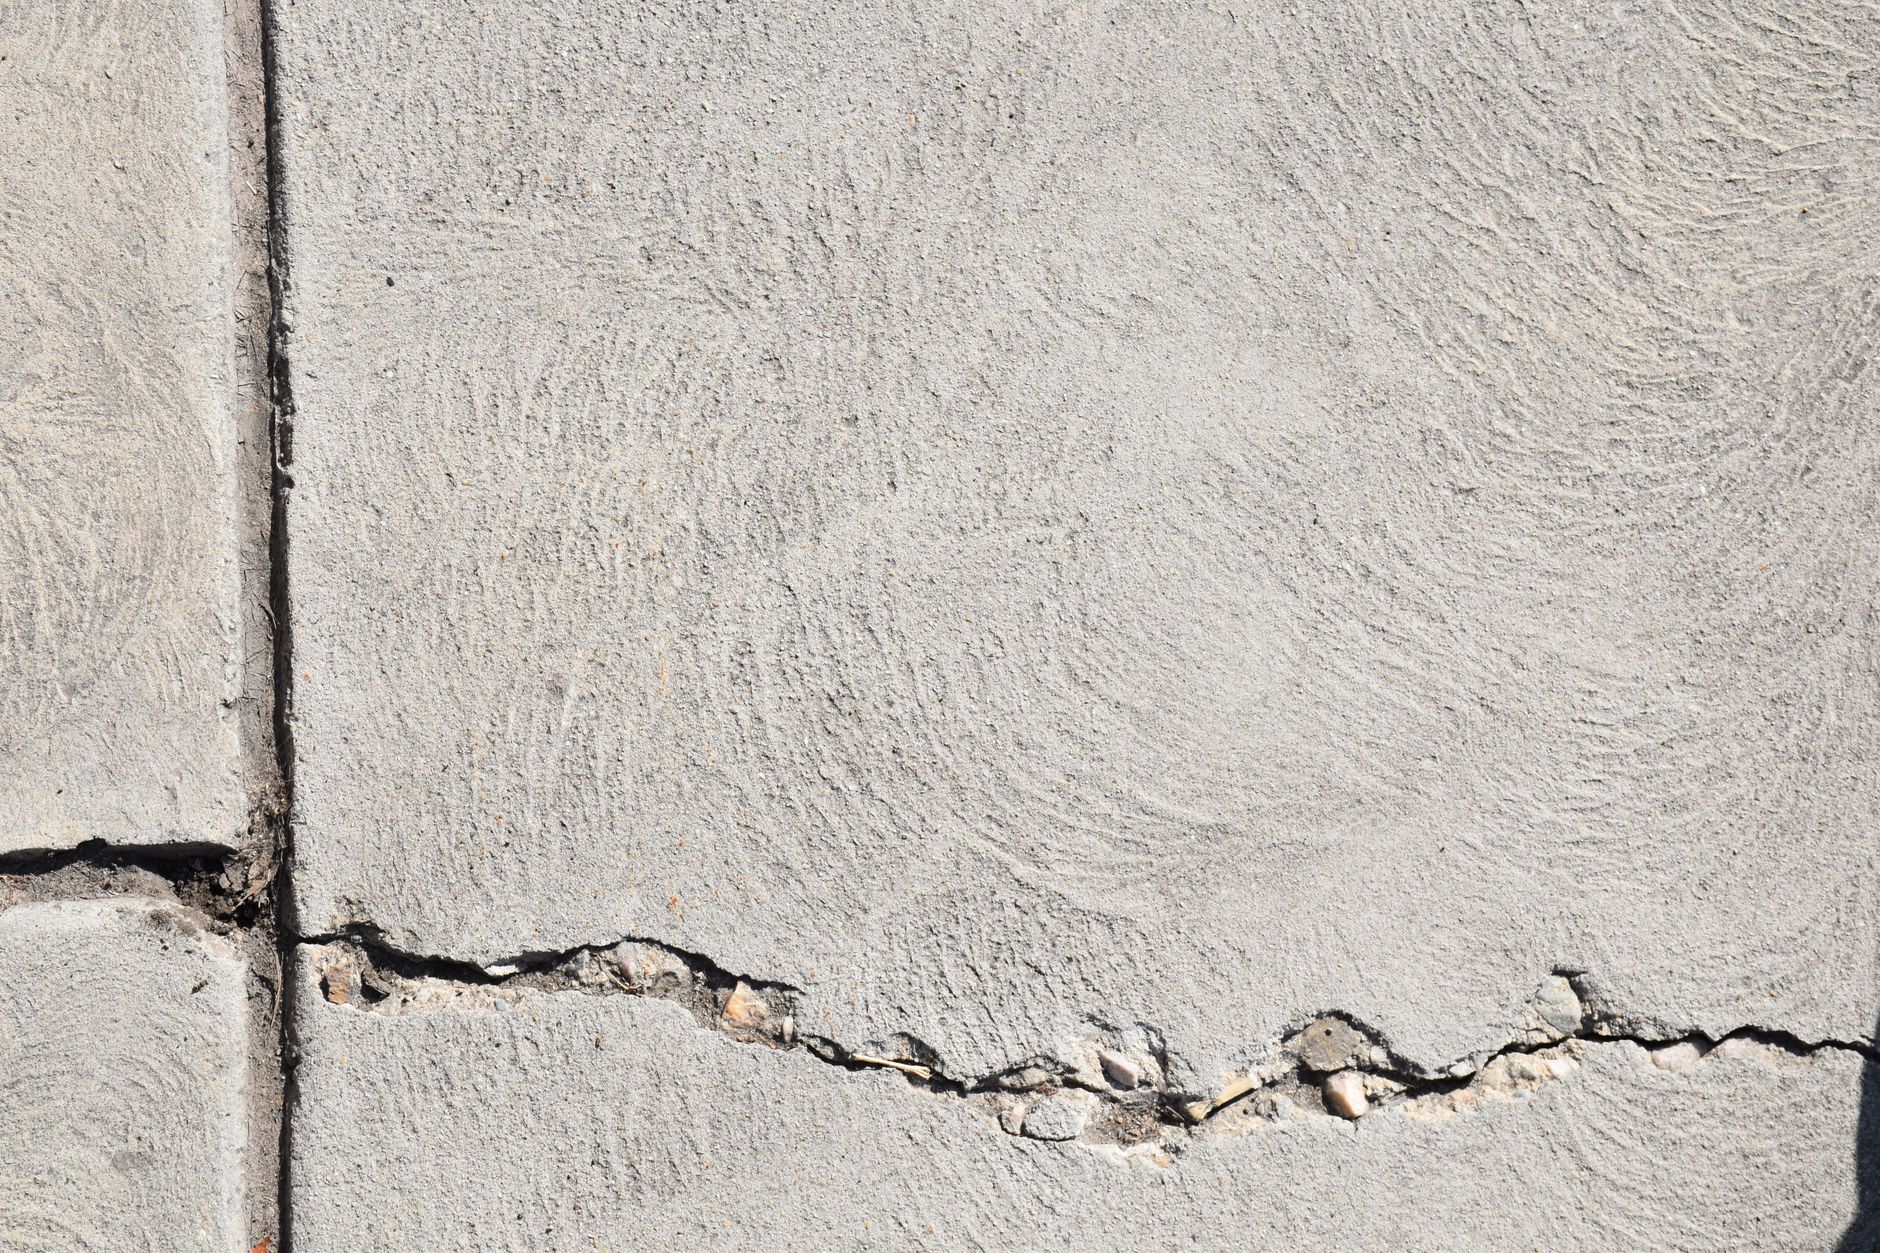
A few months back, I noticed several cracks sprawling across my concrete driveway, resembling a map of back roads. Initially, I ignored them, hoping they would somehow disappear on their own. Of course, they didn’t. Instead, the cracks grew wider, turning my once smooth driveway into an unsightly mess. I decided enough was enough and set out to fix these imperfections. What follows is my detailed journey on how I tackled this repair, the tools I found essential, and the lessons learned along the way.
As I began, the first step was understanding the scale of the problem. I measured the cracks, which varied from hairline fractures to gaps nearly half an inch wide. This assessment helped me gather the right materials and tools. I knew that tackling this would involve more than just slapping on some sealant. It required a strategic approach to ensure long-lasting results.
The Concrete Battle: My First Attempt
My first venture into crack repair was ambitious yet somewhat naive. Armed with basic supplies—a tube of concrete crack sealant, a caulking gun, and a wire brush—I thought I was ready to conquer the task. However, my initial attempt was less than perfect. I underestimated the preparation time and failed to clean the cracks thoroughly, resulting in poor adhesion of the sealant. After a week, I noticed the sealant peeling away, and the cracks seemed to mock my amateur effort.
Determined to succeed, I revisited the task with renewed vigor and a slightly heavier toolbox. This time, I included a pressure washer to remove all debris, a chisel to widen the cracks for better sealant penetration, and a trowel for smooth application. The additional preparation took about 2 hours, but it made a world of difference in the final result. I learned that the devil is in the details—cleaning and prepping the cracks was crucial for a solid repair.
Reflecting on my first attempt, I realized the importance of timing. Not only did I need a dry weather window for the best results, but I also had to consider the curing time. On a 70°F day, the sealant requires at least 24 hours to set properly. This waiting period is vital to achieving a durable repair, as it allows the sealant to bond effectively with the concrete surface.

Lessons from a Second Perspective
The second time around, I adopted a more methodical approach. Here's what I discovered:
- Time Investment: While my first attempt was rushed, taking only an hour, I spent about four hours on the second try, including prep and application time. The additional hours spent in preparation paid off with a noticeably better result.
- Cost Considerations: Initially, I spent $50 on supplies. My revised approach cost an additional $30 for the pressure washer rental and extra sealant, totaling $80. Investing in quality materials was essential in achieving a more effective repair.
- Weather Matters: Concrete work is best done in mild, dry conditions. My first attempt happened during a humid week, which hindered the curing process. My successful attempt was on a clear day, around 70°F, promoting better adhesion and drying.
Choosing the Right Tools and Materials
Selecting appropriate tools and materials is crucial for success. Here's a comparison of what worked versus what didn’t:
| Tool/Material | First Attempt | Second Attempt |
|---|---|---|
| Sealant | Low-cost generic | High-grade concrete sealant |
| Cleaning Method | Wire brush only | Pressure washer and brush |
| Application Tool | Caulking gun | Caulking gun and trowel |
Step-by-Step Guide to Success
Here's how I recommend tackling concrete crack repairs based on my experience:
- Assess the Cracks: Measure the width and depth of the cracks to determine the necessary preparation. This step helps in choosing the right filler material.
- Gather Supplies: High-grade concrete sealant, pressure washer, wire brush, chisel, caulking gun, trowel. Having the right tools ensures smoother and more efficient work.
- Prepare the Area: Use a pressure washer to clean the cracks of debris and dust. Let it dry completely to ensure the sealant adheres properly.
- Widen the Cracks: Use a chisel to slightly widen the crack for better sealant penetration. This step is crucial for ensuring the sealant fills the crack completely.
- Apply Sealant: Insert the sealant using a caulking gun, ensuring it fills the entire crack. Consistent pressure on the caulking gun helps in achieving an even application.
- Smooth the Surface: Use a trowel to evenly spread and smooth out the sealant. Smoothing eliminates air pockets and ensures a uniform finish.
- Cure Time: Allow at least 24 hours of dry weather for the sealant to cure fully. Avoid any traffic on the driveway during this period to prevent disturbing the sealant.
FAQs on Concrete Crack Repair
Q: Can I repair cracks in cold weather?
It’s best to wait for temperatures above 50°F. Cold weather can prevent proper curing and might affect the longevity of the repair.
Q: How long will the repair last?
With proper preparation and quality materials, repairs can last several years, depending on traffic and weather. Regular maintenance checks can also extend the life of the repair.
Q: Do I need to fill tiny hairline cracks?
Yes, addressing them early prevents water infiltration and further damage. Small cracks can expand over time, leading to more significant issues if left unattended.
Q: Can I use the same method on vertical surfaces?
Yes, but ensure the sealant is suitable for vertical applications. Gravity can affect the curing process, so selecting the right product is essential.
EditorialOur Take
Repairing cracks in a concrete driveway is a task that requires patience, the right tools, and some elbow grease. My journey showed me that taking the time to prepare and choosing quality materials makes all the difference. If you're a hands-on homeowner, this project is well within your reach. It’s not suited for those who dislike getting dirty or don’t have the time to dedicate to meticulous preparation and application. However, the satisfaction of a smooth, crack-free driveway is well worth the effort. For those willing to invest the time and effort, the reward is a durable, aesthetically pleasing driveway that stands the test of time.
Published on .
Share now!

Jack Turner
DIY & Repairs Contributor
Jack Turner writes Dailynib's simple-repair guides. He believes most small household fixes are far less scary than they look once someone shows you the steps. Jack focuses on safe, beginner-friendly repairs that don't need a pro. Jack uses AI tools to research, draft, and help keep these articles accurate.
More from Jack →The information on this site is of a general nature only and is not intended to address the specific circumstances of any particular individual or entity. It is not intended or implied to be a substitute for professional advice.
Get our best tips in your inbox
A short, practical email now and then. No spam, and you can unsubscribe anytime.