Published on:
5 min read
By Jack Turner · DIY & Repairs Contributor
Reactions to New Advancements in Low-Flow Toilets
I recently upgraded to a new low-flow toilet and was surprised by how much water I saved without losing performance. Let's dive into the details of this technology.
Introducing My Low-Flow Toilet Upgrade
When my trusty old toilet started acting up, I decided it was time to upgrade. I opted for a new low-flow model that promised better water efficiency. I was skeptical initially, worrying about potential performance issues, but my curiosity about the water-saving benefits drove me forward. In this article, I'll share my first-hand experience with this low-flow toilet, including the setup process, the challenges I faced, and ultimately, how these advancements have impacted my household water usage and costs.
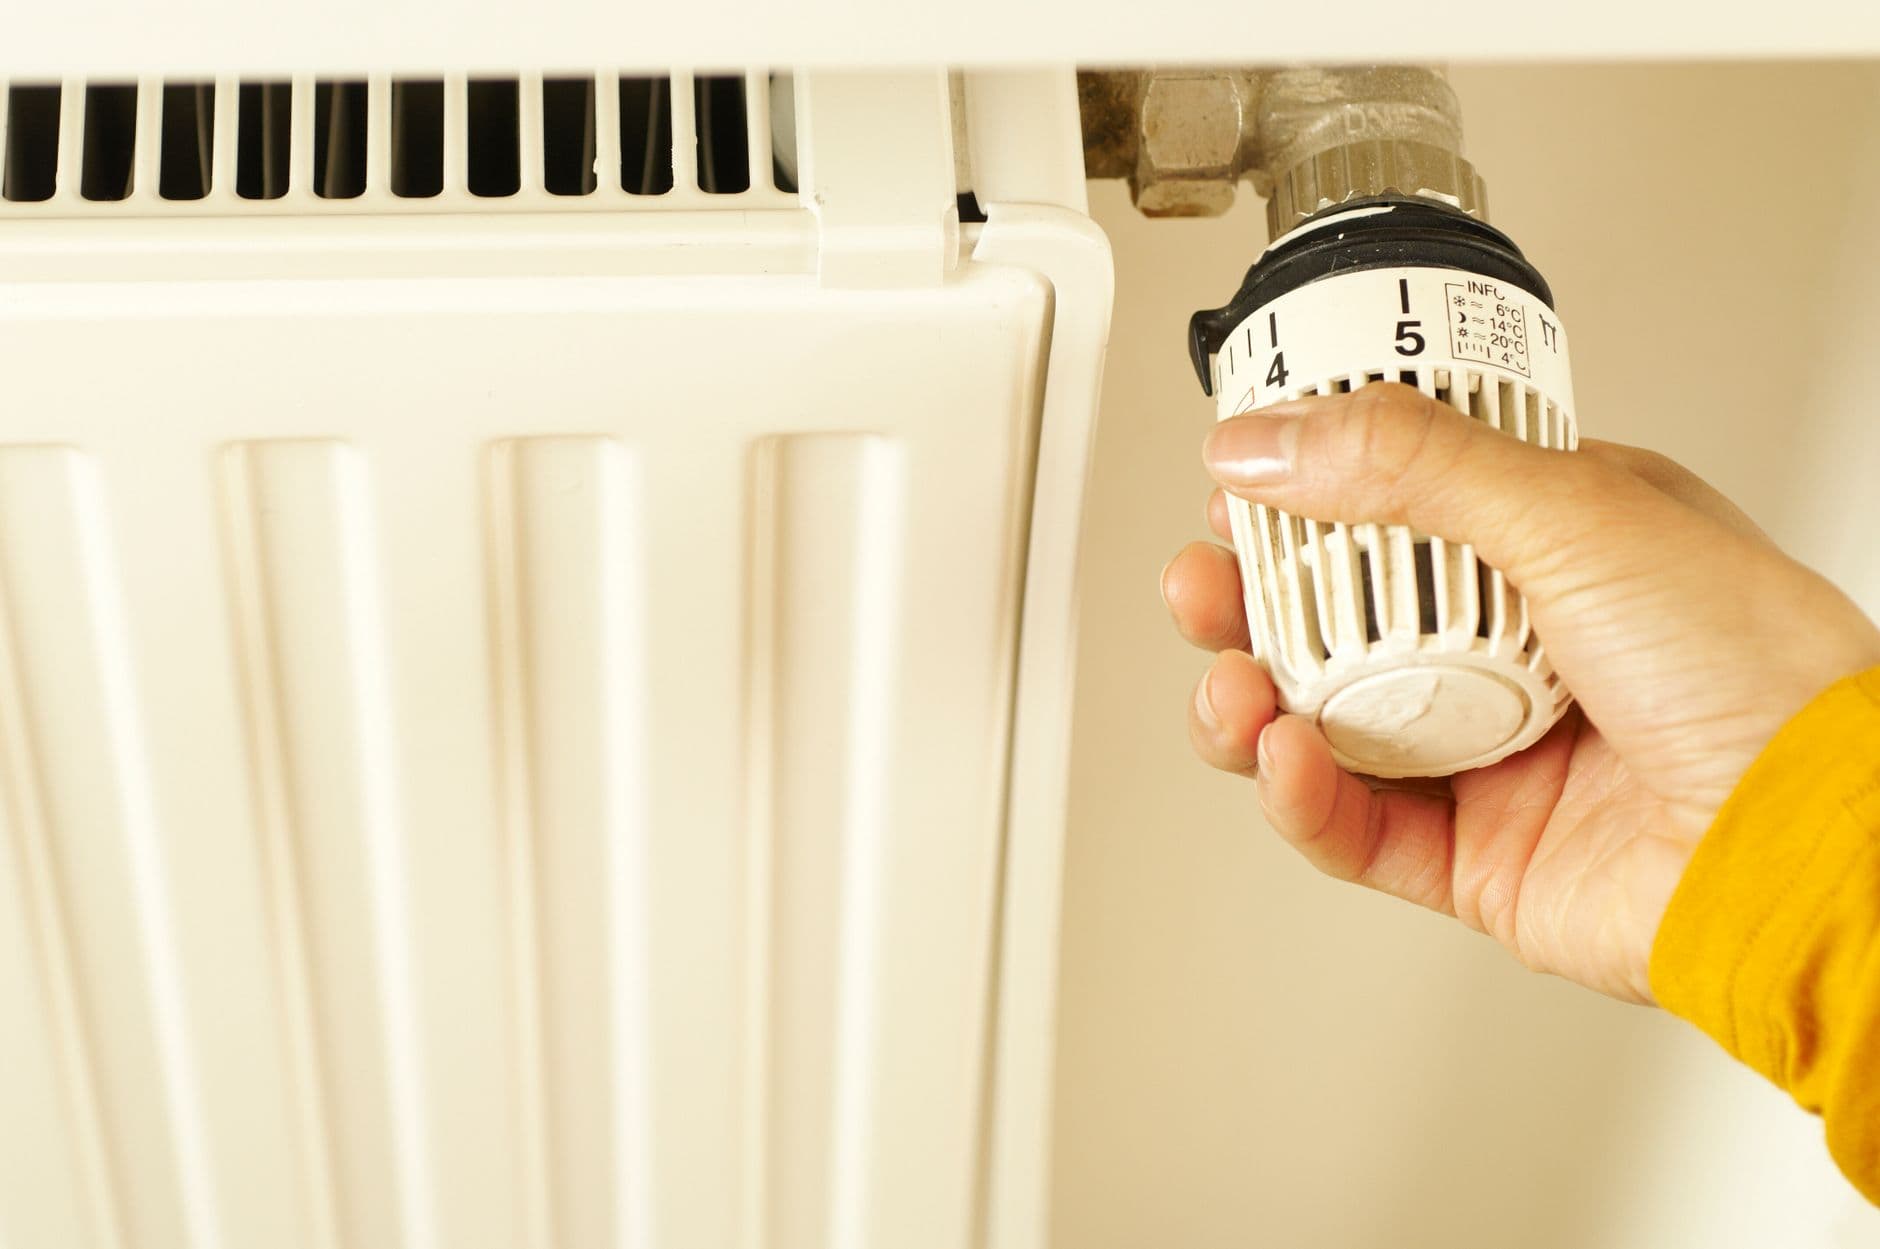
Installing the Low-Flow Toilet: A Journey
The first step in this journey was installing the new toilet. I picked a model priced around $250, which was on the higher end but boasted dual-flush technology. The installation process took me about three hours. I had to remove the old toilet, clean the area, and ensure that the new one was securely in place. Even with a few hiccups, like dealing with uneven flooring and a slightly misaligned flange, I managed to get everything set up with the help of a basic toolkit: a wrench, screwdriver, and level.
After installation, I immediately noticed the reduced water usage. Traditional toilets use around 3.5 gallons per flush, but this new model uses only 1.28 gallons for a full flush and just 0.8 gallons for a liquid-only flush. Over the first month, that added up to a savings of nearly 1,000 gallons of water, which was a significant improvement. This not only benefited the environment but also positively influenced my water bill.
What surprised me was the ease with which the new toilet fit into my bathroom's existing plumbing. I was initially worried about compatibility, but the design of modern low-flow toilets seems to be quite adaptable. This was a relief, considering how daunting the thought of potential plumbing modifications was.
Performance and Daily Use
I was curious to see how this new low-flow model performed on a daily basis. I've often heard complaints about low-flow toilets needing multiple flushes, so I was prepared for that possibility. To my surprise, the dual-flush system worked efficiently. The full flush was more than sufficient for solid waste, and the light flush handled liquids perfectly.
One morning, I inadvertently put it to the test after a hearty breakfast and a bit too much fiber in my diet. I was pleased to find that the toilet managed the task in one flush, saving both water and time. Another advantage is the quieter flush, which is a relief during late-night bathroom visits.
The reduction in water usage was evident in my monthly bill. I saw about a 20% decrease in water costs, translating to roughly $15 in savings. Here's a quick breakdown:
- Pre-upgrade: 3.5 gallons per flush
- Post-upgrade: 1.28 gallons (solid), 0.8 gallons (liquid)
- Monthly water savings: ~1,000 gallons
- Monthly cost savings: ~$15
Comparing Old vs. New: A Side-by-Side Look
To truly appreciate the advancements in low-flow technology, I compared my old toilet with the new one in several aspects. The differences in both water usage and overall functionality were immediately apparent. Here's a table summarizing the key differences:
| Feature | Old Toilet | New Low-Flow Toilet |
|---|---|---|
| Water Usage per Flush | 3.5 gallons | 1.28/0.8 gallons |
| Noise Level | Loud | Quiet |
| Installation Time | Estimated 2 hours | 3 hours with adjustments |
Practical Tips for Installing a Low-Flow Toilet
If you're considering making the switch to a low-flow toilet, here are some practical tips to help with the installation and maximize your savings:
- Measure your bathroom space to ensure the new toilet fits appropriately.
- Consider hiring a plumber if you're uncomfortable with DIY; this could save time and prevent potential leaks.
- Check the toilet flange and wax ring for wear and replace them if needed during installation.
- Opt for a dual-flush model to tailor water usage based on need.
- Regularly monitor your water bill to track savings and troubleshoot any unexpected increases.
Q&A: Your Low-Flow Toilet Questions Answered
Q: Do low-flow toilets really save money on water bills?
Yes, they do. In my experience, switching to a low-flow toilet cut my water use significantly, saving about $15 a month.
Q: Are there performance issues with low-flow toilets?
Modern low-flow toilets have improved significantly. I found that the dual-flush system effectively handles waste without the need for multiple flushes.
Q: How difficult is the installation process for a DIYer?
While it requires some basic plumbing skills, the process is manageable with the right tools. Expect to spend a few hours on it.
Q: What maintenance does a low-flow toilet need?
Regular cleaning and a check on the seals and flush mechanisms about once a year should keep it running smoothly.
Q: Can low-flow toilets cause blockages?
In my experience, blockages have been rare. Ensuring proper installation and using the correct flush for waste type can minimize the risk.
EditorialOur Take
Overall, upgrading to a low-flow toilet has been a rewarding experience. It not only cut down my water bills but also contributed to more sustainable living. For those who want to conserve water without sacrificing performance, modern low-flow toilets are a great solution. However, if you're not comfortable with DIY installations, seeking professional help might be the way to go. This upgrade is ideal for anyone looking to make their home more efficient and environmentally friendly without a significant upfront spend. It's not for those who prefer to stick to traditional models or are not ready to tackle a bit of installation work. The combination of water savings, reduced noise, and minimal maintenance makes it a smart choice for the eco-conscious homeowner.
Published on .
Share now!

Jack Turner
DIY & Repairs Contributor
Jack Turner writes Dailynib's simple-repair guides. He believes most small household fixes are far less scary than they look once someone shows you the steps. Jack focuses on safe, beginner-friendly repairs that don't need a pro. Jack uses AI tools to research, draft, and help keep these articles accurate.
More from Jack →The information on this site is of a general nature only and is not intended to address the specific circumstances of any particular individual or entity. It is not intended or implied to be a substitute for professional advice.
Get our best tips in your inbox
A short, practical email now and then. No spam, and you can unsubscribe anytime.