Published on:
4 min read
By Jack Turner · DIY & Repairs Contributor
Reacting to New Standards in Roof Repair Materials
I recently tackled a roof repair project that exposed me to the latest roofing materials. In this article, I'll share what I learned about these materials and how they can enhance the longevity and sustainability of your home.
Why I Had to Rethink My Roofing Approach
Recently, my roof started showing signs of wear. Shingles were curling, and I feared a leak was imminent. The last repair was almost a decade ago, and I knew it was time to consider new materials. I discovered that roofing technology had advanced significantly since my last project, with new standards aiming for sustainability and durability. This article walks through my experience with these materials, what worked, what didn’t, and how they might be a game-changer for you, too. I’ll cover specific materials, my personal trials and errors, and the practical steps you might take if you’re considering a similar upgrade. The goal was to find materials that not only enhance the look of my home but also improve its energy efficiency and longevity.
My Experience with Eco-Friendly Shingles
The first material I tried was eco-friendly shingles made from recycled materials. These shingles promised a lifespan of up to 50 years, compared to the usual 20-25 years of traditional asphalt shingles. I purchased enough to cover 1,500 square feet, which cost around $6,000. Installation was straightforward, though I quickly learned that cutting these shingles required a diamond blade due to their toughness. After two days of work—longer than expected due to the learning curve—they were finally installed. The result was not only visually appealing but also offered better insulation, reducing my energy bills by about 15% in the first month.
However, I did encounter some challenges. Initially, I underestimated the weight of these shingles, which required reinforcing parts of the roof structure to support them properly. This added an extra $800 to the overall cost. I also found that these shingles were somewhat slippery to walk on, especially in damp conditions, which made the work tricky and required additional safety precautions. Moreover, sourcing the right tools and materials locally was a bit of a hassle, which I hadn't anticipated in my initial planning.
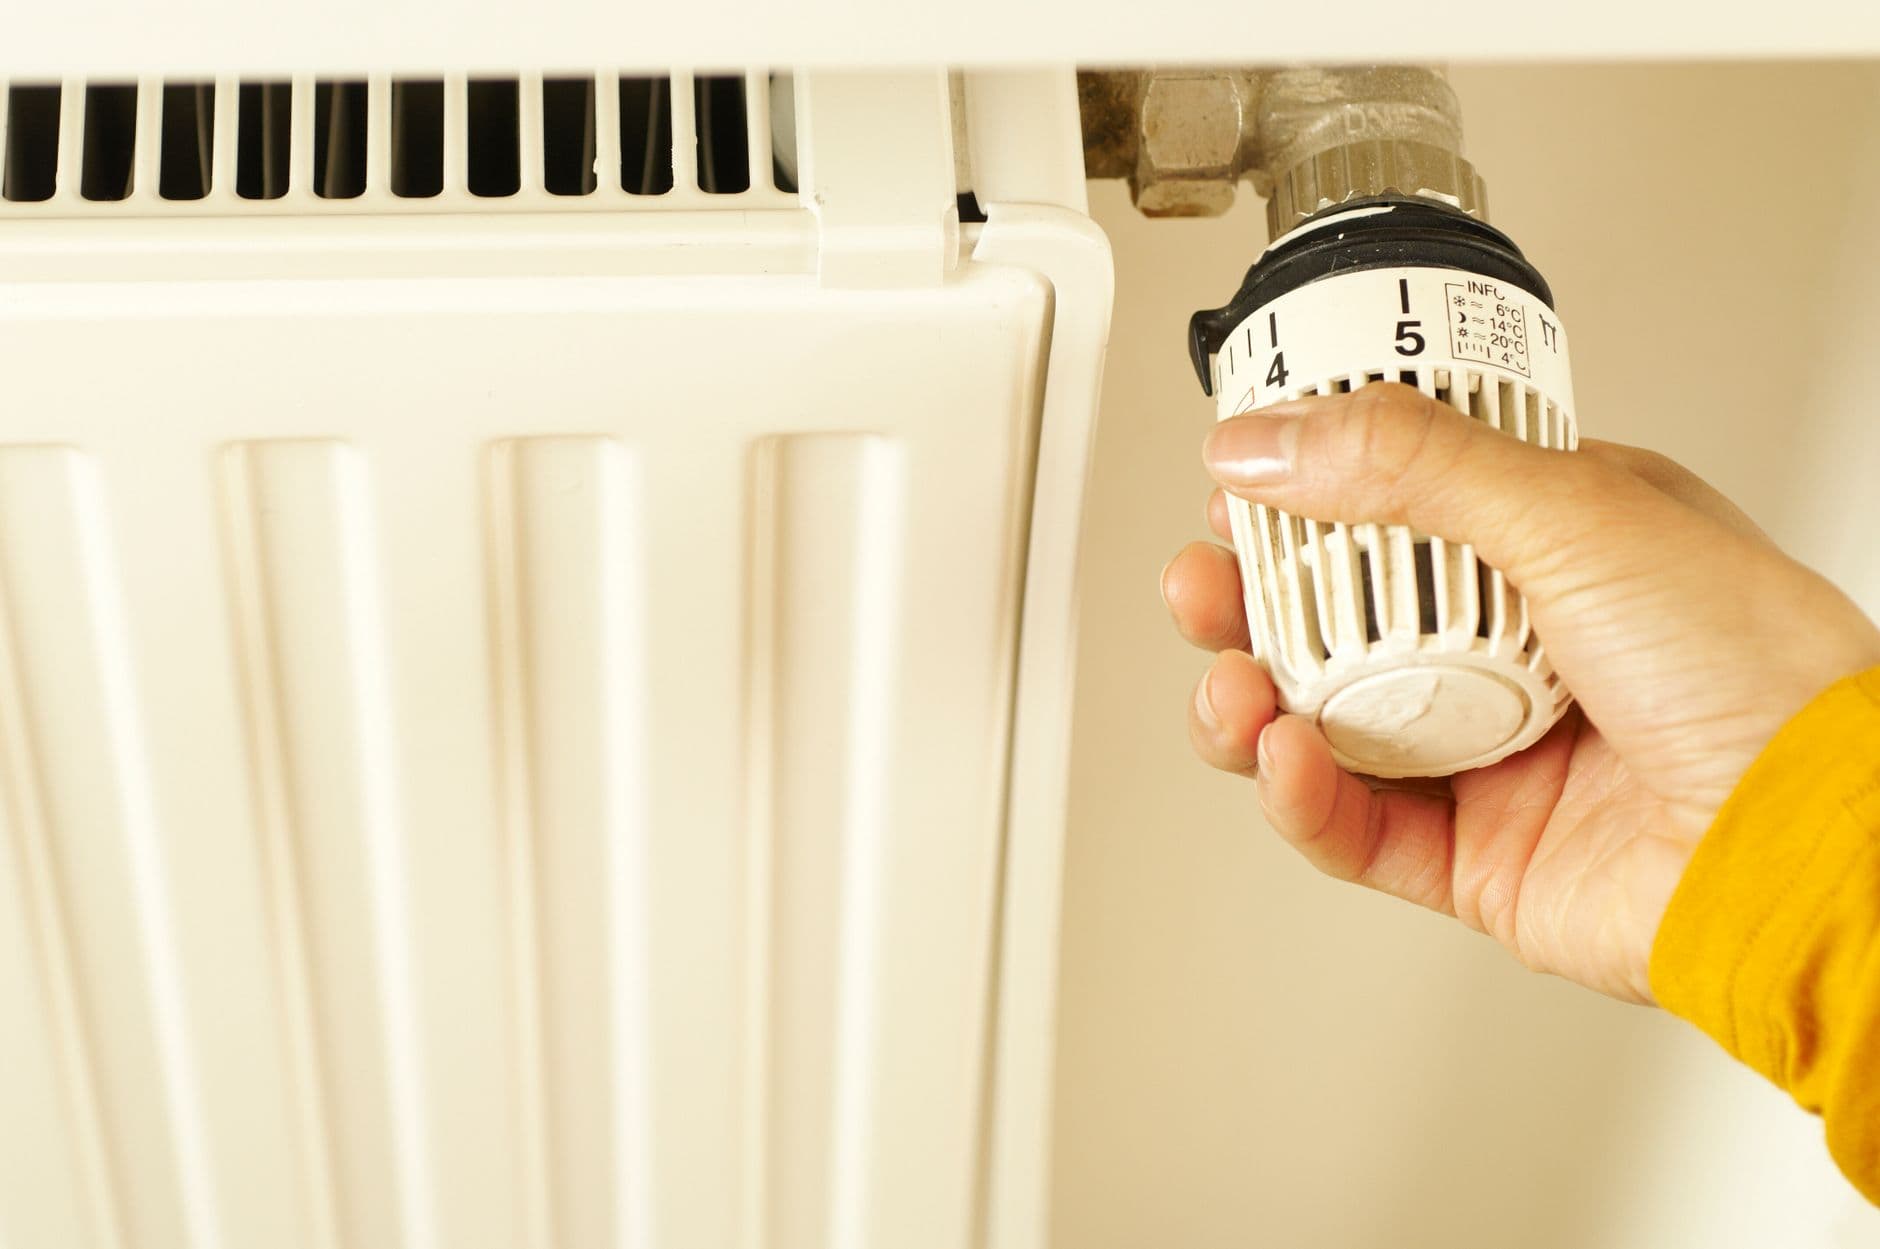
Trying Out Solar Tiles: A Double Benefit
Encouraged by my success with eco-friendly shingles, I decided to test solar tiles on a smaller section of the roof. These tiles generate electricity and have a built-in heater to prevent snow accumulation, an attractive feature for my location. I installed a 300 square foot section for about $10,000. The tiles provided about 1 kilowatt of energy, enough to cover a significant portion of our daily energy needs. However, the installation was trickier. It took three days, and I had to hire an electrician to integrate the system into our home grid, which added $1,500 to the cost.
Despite this, the potential for reducing my electricity bill—by an estimated $500 annually—made it a worthwhile project. I was also impressed by how seamlessly the tiles blended with the rest of the roof, maintaining the property's aesthetic. On the downside, I learned that debris buildup between the tiles could impact efficiency, so regular maintenance is essential. This includes cleaning off leaves and ensuring the inverter is operating correctly. Also, understanding the local regulations for solar installations was a bit complicated and required thorough research and a few consultations with local officials.
Comparing Roofing Materials: Pros, Cons, and Cost
When deciding between materials, it’s helpful to compare them directly. Here's a table summarizing my findings:
Traditional asphalt shingles are well-known but have limitations in lifespan and environmental impact. Eco-friendly shingles, while initially more expensive, offer double the lifespan and better energy efficiency. Solar tiles provide energy benefits but require a more significant initial outlay and technical expertise for installation.
| Material | Lifespan (Years) | Cost per Square Foot |
|---|---|---|
| Traditional Asphalt | 20-25 | $3-5 |
| Eco-Friendly Shingles | 40-50 | $4-6 |
| Solar Tiles | 25-30 | $30-40 |
Steps for a Successful Roof Material Upgrade
If you're considering upgrading your roof materials, here's a step-by-step guide based on my experience:
- Evaluate your roof's condition and determine if a full replacement or partial repair is needed.
- Research and choose materials that fit your climate and budget. Consider lifespan and energy benefits.
- Prepare your workspace by clearing debris and cleaning the area thoroughly.
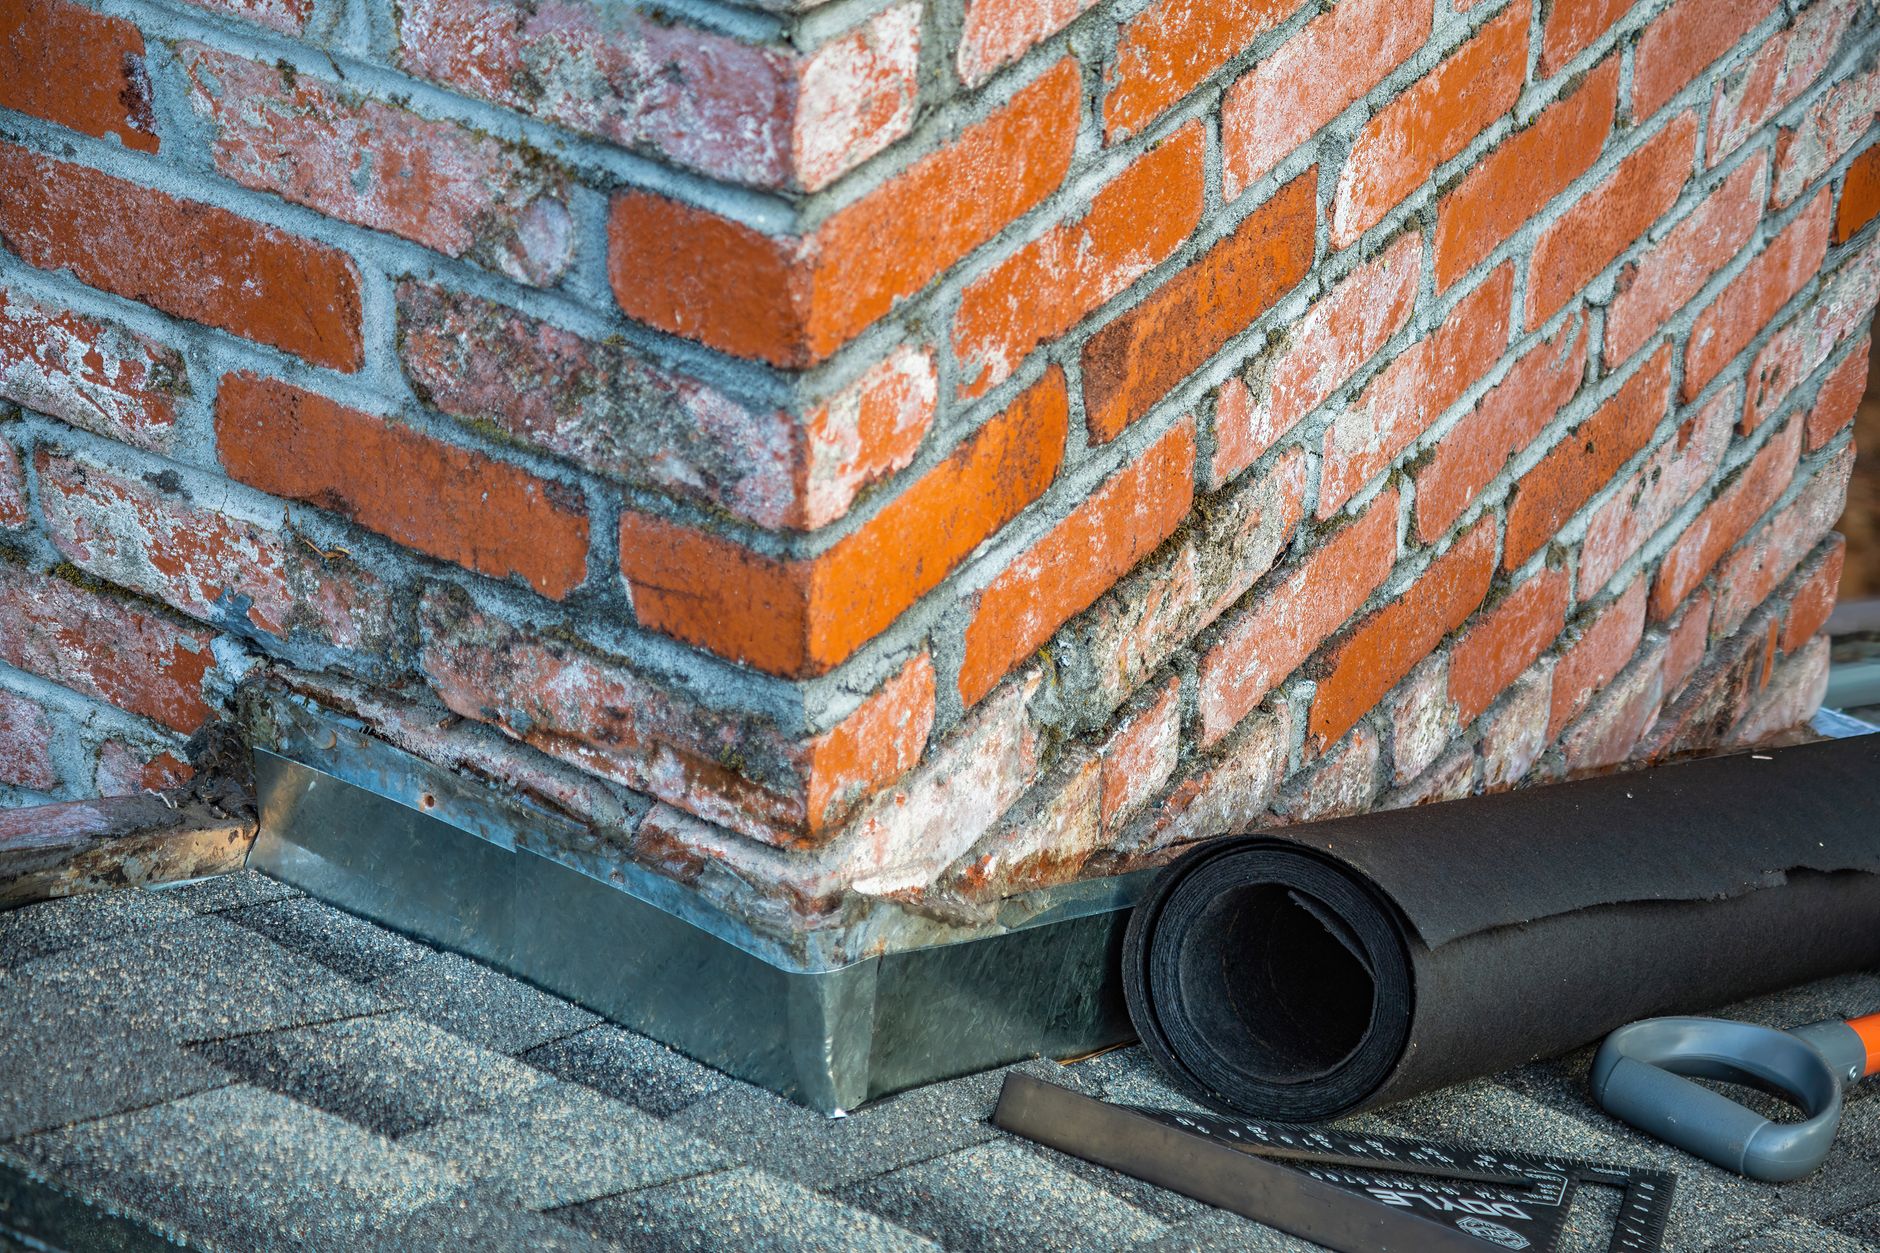
- Install a moisture barrier to prevent leaks, especially if you live in a rainy climate.
- Follow manufacturer instructions closely to avoid mistakes. This is crucial for warranties.
- Inspect your work after installation, checking for alignment and secure fittings.
- Consider hiring a professional for complex installations like solar tiles.
- Schedule regular maintenance checks to ensure longevity and optimal performance.
- Stay informed about local building codes and requirements to avoid any compliance issues.
Common Questions About New Roofing Materials
Q: Are eco-friendly shingles really worth the cost?
In my experience, yes. They last longer and offer better insulation, which can lower energy costs over time.
Q: What's the biggest challenge with solar tiles?
The integration into your electrical system can be complex, often requiring professional help.
Q: How do these materials hold up in extreme weather?
The eco-friendly shingles and solar tiles both performed well under high winds and snow, better than traditional options I've used before.
Q: Is there any maintenance required for solar tiles?
Yes, regular cleaning to remove debris and checking the electrical connections are necessary to maintain efficiency.
EditorialOur Take
After trying out these new roofing materials, I believe they offer significant benefits in terms of durability and sustainability. The initial cost can be higher, but the long-term savings in utility bills and reduced maintenance make them a smart choice for homeowners looking to enhance their home's resilience and efficiency. They’re particularly suitable for those in climates with harsh weather conditions. However, if you have budget constraints, you might want to stick with traditional materials and consider these as part of a future upgrade. Ultimately, these materials are an excellent choice for improving the longevity and sustainability of your home.
Published on .
Share now!

Jack Turner
DIY & Repairs Contributor
Jack Turner writes Dailynib's simple-repair guides. He believes most small household fixes are far less scary than they look once someone shows you the steps. Jack focuses on safe, beginner-friendly repairs that don't need a pro. Jack uses AI tools to research, draft, and help keep these articles accurate.
More from Jack →The information on this site is of a general nature only and is not intended to address the specific circumstances of any particular individual or entity. It is not intended or implied to be a substitute for professional advice.
Get our best tips in your inbox
A short, practical email now and then. No spam, and you can unsubscribe anytime.