Published on:
4 min read
By Jack Turner · DIY & Repairs Contributor
Patching Plaster Walls vs. Drywall: Which Method Lasts Longer?
I tackled the challenge of repairing both plaster and drywall in my century-old home. Here's what I learned about their durability and repair methods.
The Tale of Two Walls
Owning a century-old home is a journey through time, especially when it comes to repairs. The walls in my house tell stories of the past, with plaster in the older sections and drywall in the more recent additions. Faced with the challenge of patching both types of walls, I found myself at a crossroads: which method would be more durable? In this article, I'll share my personal experiences, tools used, and tips for patching plaster and drywall, and ultimately, which one I found to last longer.
Tackling Plaster: A Labor of Love
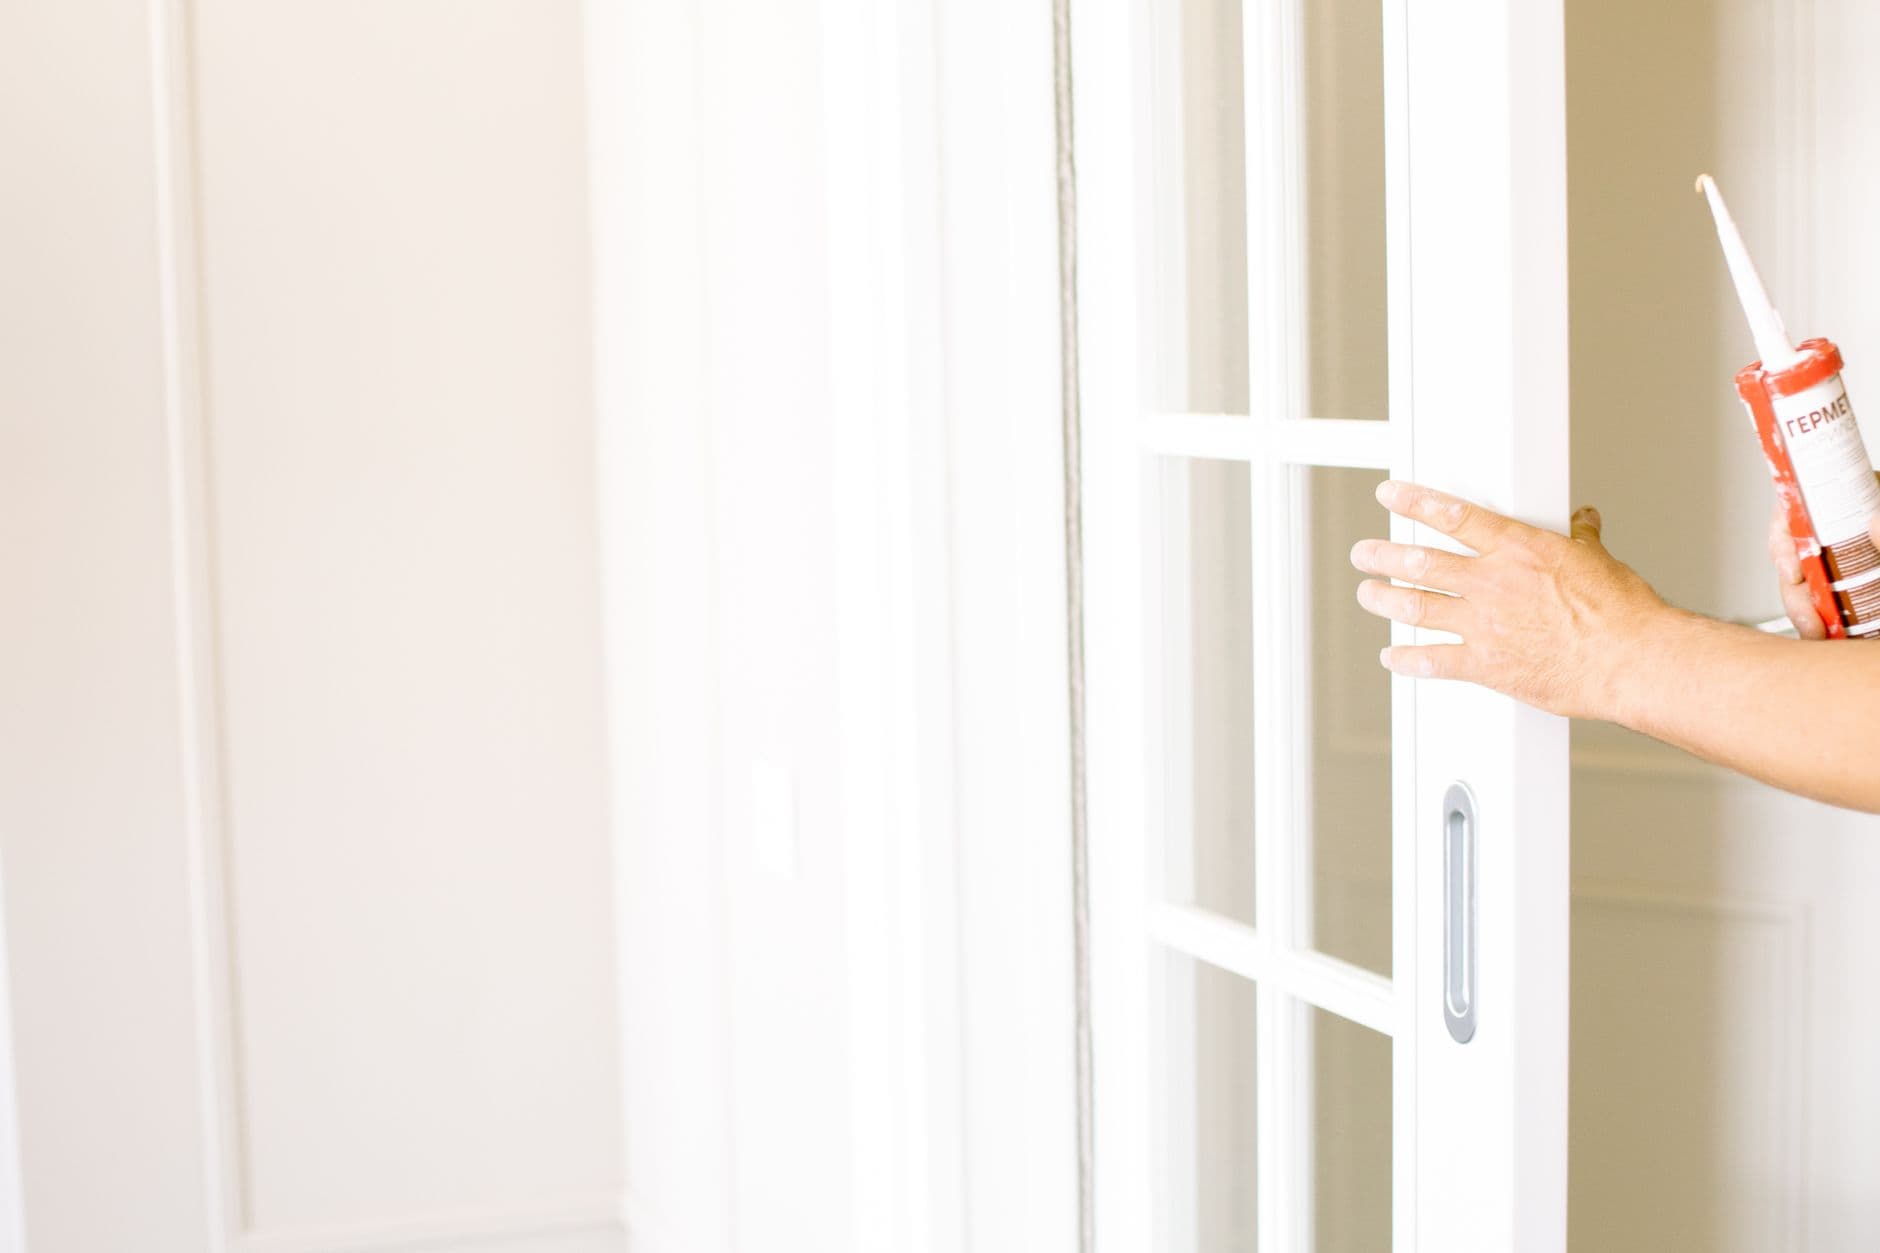
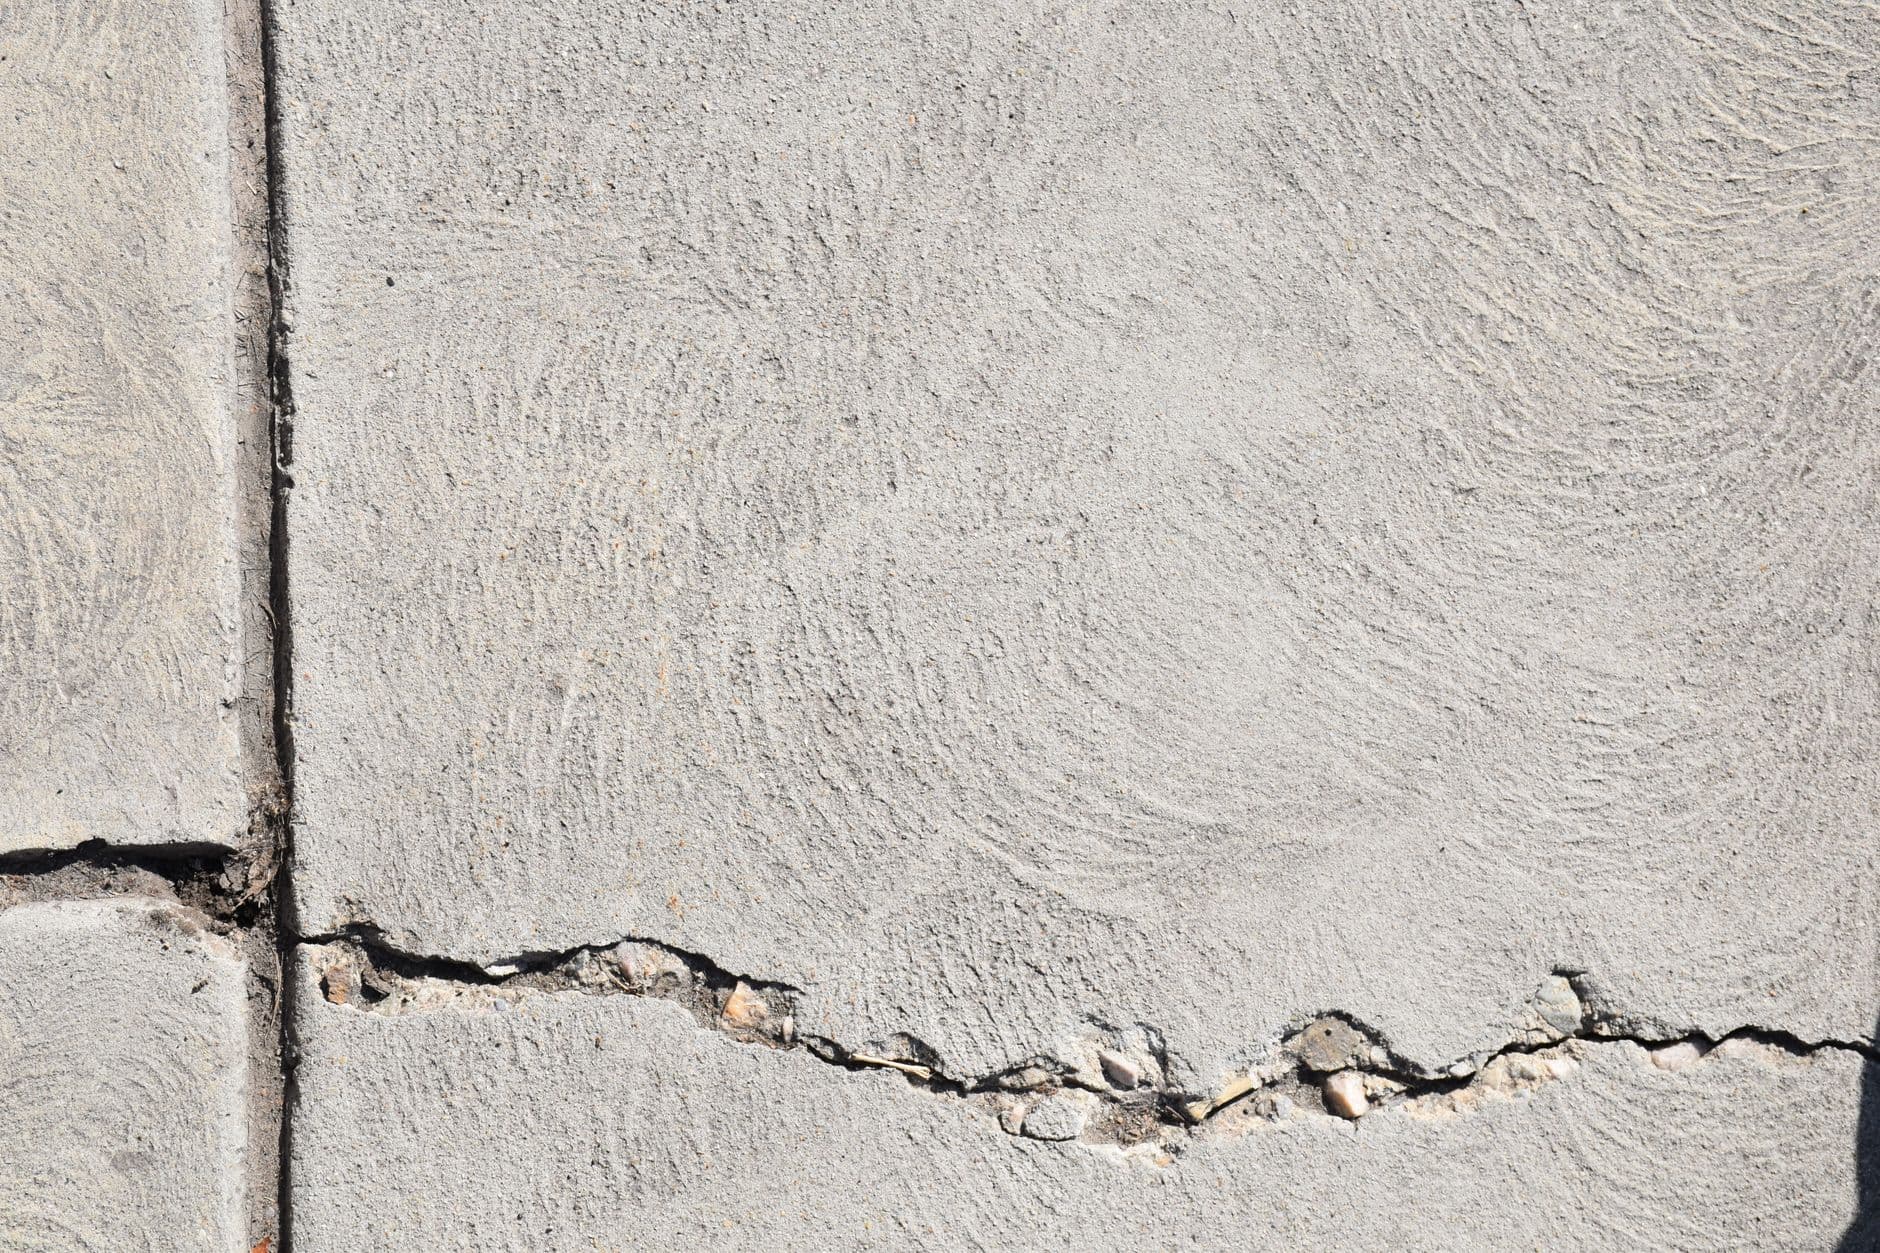
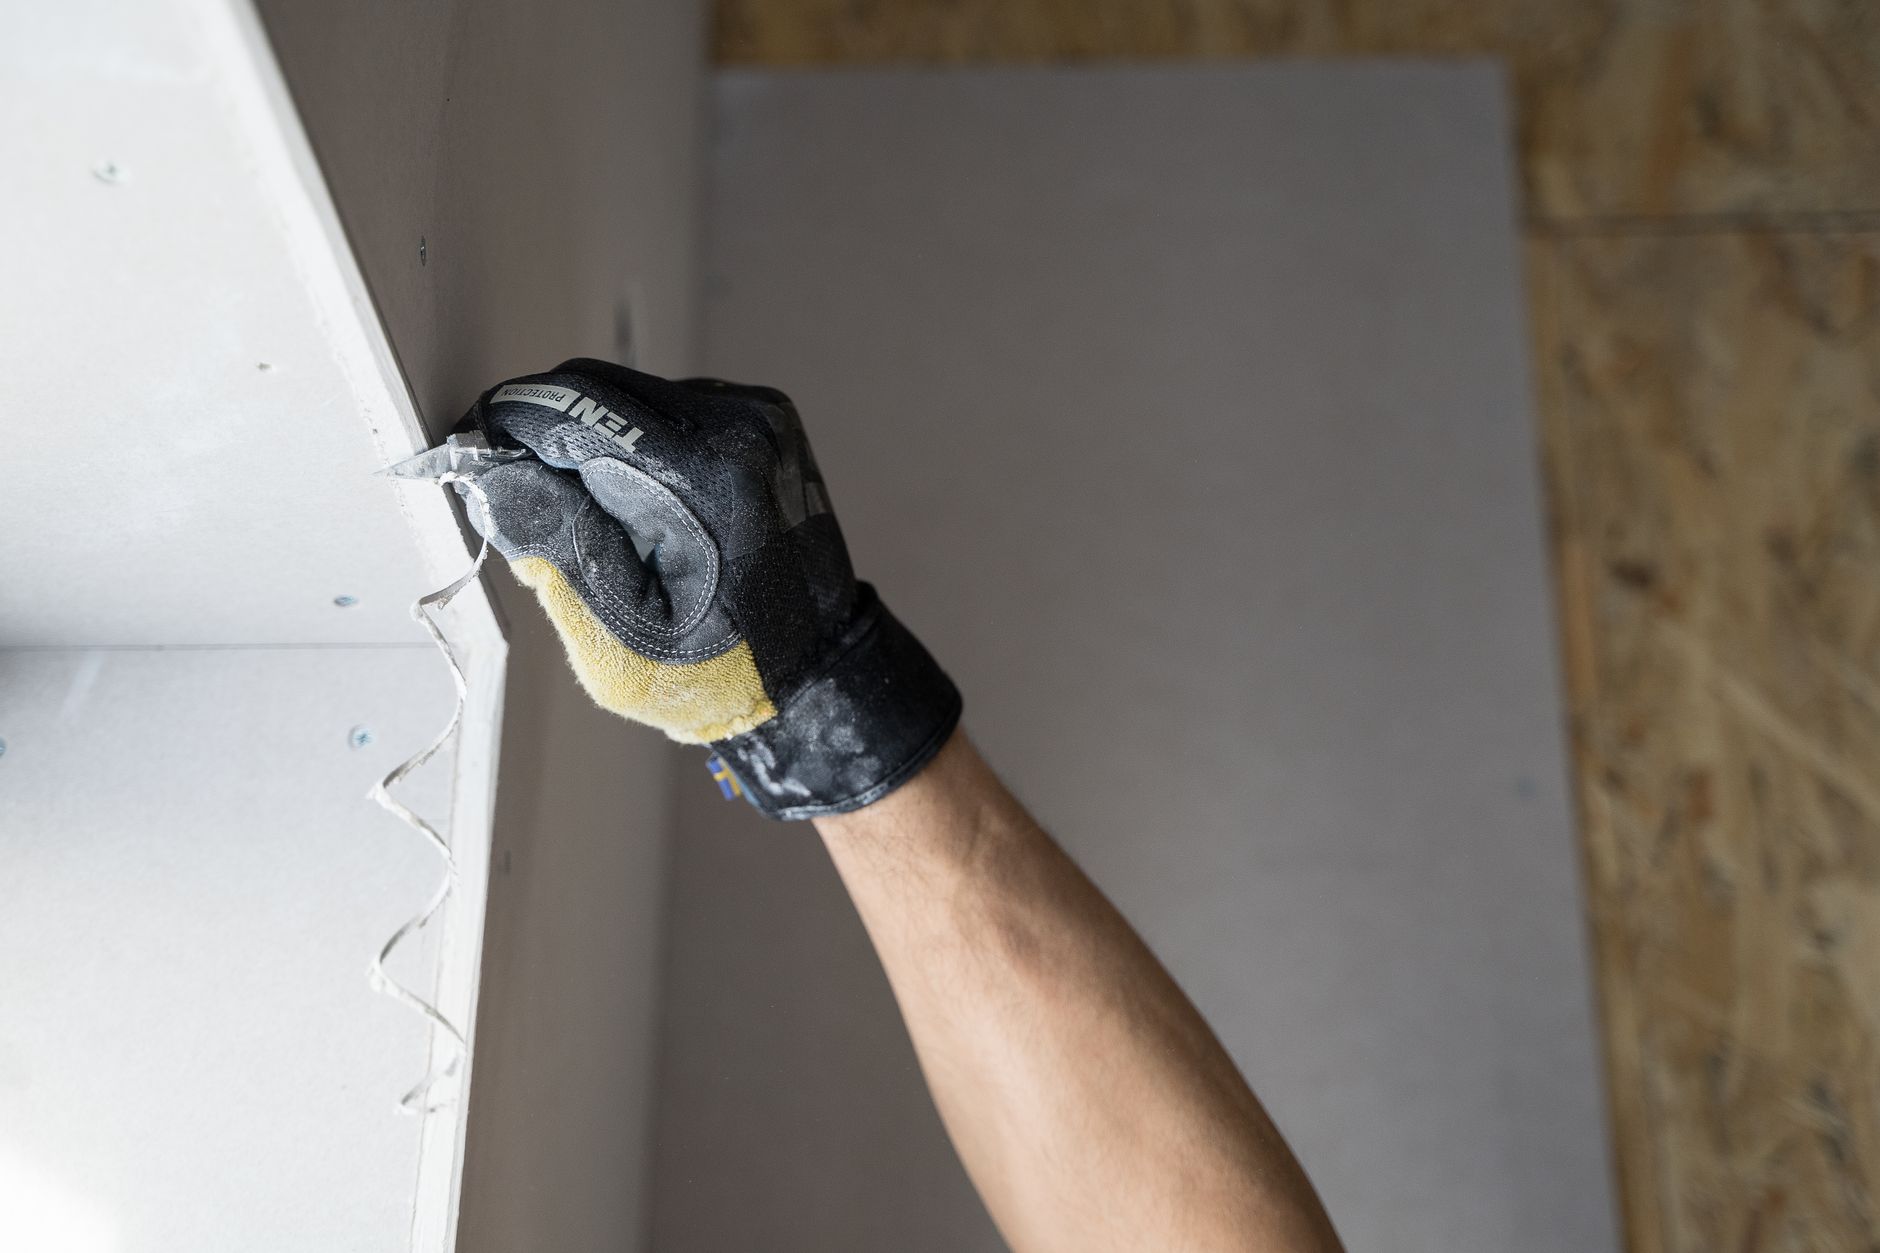
My first endeavor was to patch a sizeable crack in the plaster of our dining room. The crack was about two feet long and seemed to grow with every seasonal change. Plaster, being a more traditional material, requires a bit of finesse. I used a combination of a plaster patching compound and fiberglass mesh tape. It was crucial to clean the crack thoroughly first—dust and debris removal with a wire brush and vacuum took about 20 minutes.
Applying the plaster mix was a slow process. After mixing it to a thick consistency, I applied it in layers, allowing each layer to dry for about 24 hours. Over the course of a week, I applied three layers. Sanding between layers ensured a smooth finish, but it was labor-intensive—around 2 hours per sanding session, for a total of 6 hours just for smoothing. The cost was about $30 for all materials, with a lot of elbow grease thrown in.
Despite the effort, the satisfaction of seeing a smooth, crack-free finish was worth it. I appreciated the tactile quality of plaster and how it seamlessly blended with the surrounding wall. However, I learned quickly that patience was key; rushing any step could lead to a less-than-perfect repair.
Drywall: Quicker But Is It Better?
In contrast, repairing a hole in the drywall of our hallway was a quicker task. The hole, roughly 6 inches in diameter, was due to an unfortunate doorknob incident. For drywall, I used a pre-cut patch from the local hardware store, a joint compound, and a joint knife.
The process was straightforward: attach the patch, apply the joint compound, and sand. Unlike plaster, the drying time for each joint compound layer was only about 4 hours, allowing me to complete the patch in two days, with three layers applied. Each sanding session was much quicker, taking only about 30 minutes in total. The patch cost was about $15, half that of the plaster repair.
While the process was simpler, I noticed that drywall repairs don't blend as invisibly as plaster. The edges of the patch can become visible over time, especially if not meticulously feathered and sanded. And though drywall repairs are quicker, they tend to require touch-ups more frequently, especially in high-traffic areas.
Durability Showdown: Plaster vs. Drywall
After completing both repairs, I monitored the conditions over a year. The table below outlines the key differences in durability, effort, and cost for both methods.
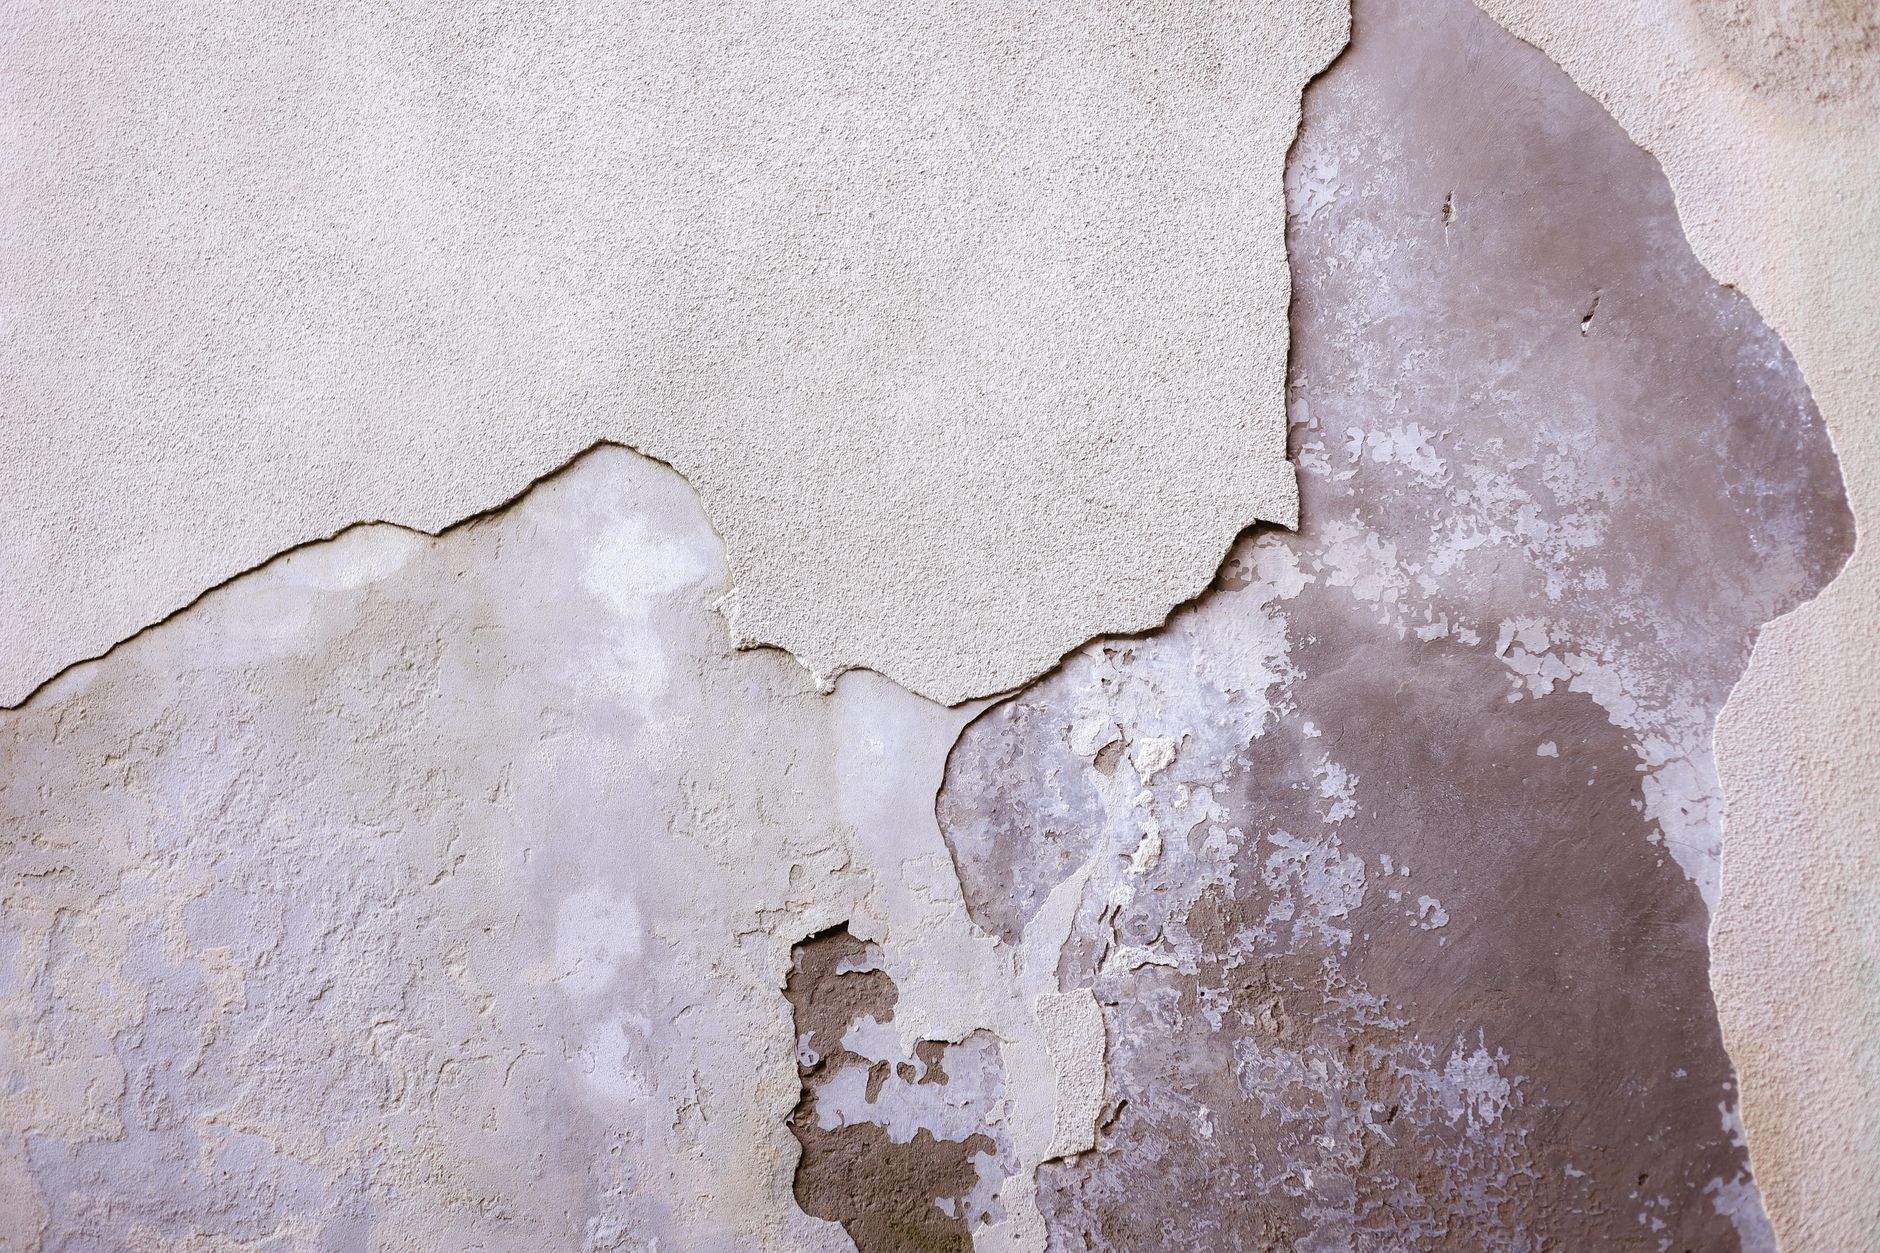
In terms of longevity, plaster seemed to be more robust, with only minor hairline cracks reappearing after a year, likely due to natural settling in the old house.
Drywall, however, showed more pronounced signs of wear in high-traffic areas, with the repaired section becoming more noticeable over time.
| Aspect | Plaster | Drywall |
|---|---|---|
| Longevity | 10+ years | 5-7 years |
| Repair Time | 7 days | 2 days |
| Cost | $30 | $15 |
Steps for a Lasting Repair
Whether you choose plaster or drywall, here are some steps to ensure a lasting repair:
- Clean the area thoroughly to remove dust and debris.
- For plaster, use mesh tape to bridge larger cracks and apply in layers.
- Allow ample drying time between layers—rushing can lead to cracks.
- For drywall, use a pre-cut patch for ease and quick application.
- Sand between layers for a smooth finish.
- Prime and paint after the final sanding to match your existing wall.
FAQs on Wall Repairs
Q: Can I patch plaster with drywall materials?
While you can use joint compound on small plaster cracks, it won't last as long as traditional plaster methods and may show signs of failure sooner.
Q: Is it necessary to own specific tools for plaster repairs?
Having the right tools can significantly improve your results. For plaster repairs, tools like a hawk and trowel are crucial, whereas a joint knife suffices for drywall.
Q: How can I prevent future cracks?
Ensure proper wall insulation and humidity control to minimize expansion and contraction-related damage.
Q: What should I do if my plaster is crumbling?
In such cases, it might be necessary to replace larger sections with new plaster, or if extensive, consider professional help to restore the wall properly.
EditorialOur Take
For those tackling repairs in older homes, plaster repairs can be a bit more demanding but offer superior durability. Drywall is easier and quicker to work with, but might not stand up as well over time, especially in high-use areas. If you have a mix of both wall types, weigh your priorities: longevity and authenticity with plaster, or speed and simplicity with drywall. Either way, patience and attention to detail will ensure a successful repair. I would recommend plaster for areas that face less daily wear and drywall for quick fixes in busy parts of the home.
Published on .
Share now!

Jack Turner
DIY & Repairs Contributor
Jack Turner writes Dailynib's simple-repair guides. He believes most small household fixes are far less scary than they look once someone shows you the steps. Jack focuses on safe, beginner-friendly repairs that don't need a pro. Jack uses AI tools to research, draft, and help keep these articles accurate.
More from Jack →The information on this site is of a general nature only and is not intended to address the specific circumstances of any particular individual or entity. It is not intended or implied to be a substitute for professional advice.
Get our best tips in your inbox
A short, practical email now and then. No spam, and you can unsubscribe anytime.