Published on:
4 min read
By Jack Turner · DIY & Repairs Contributor
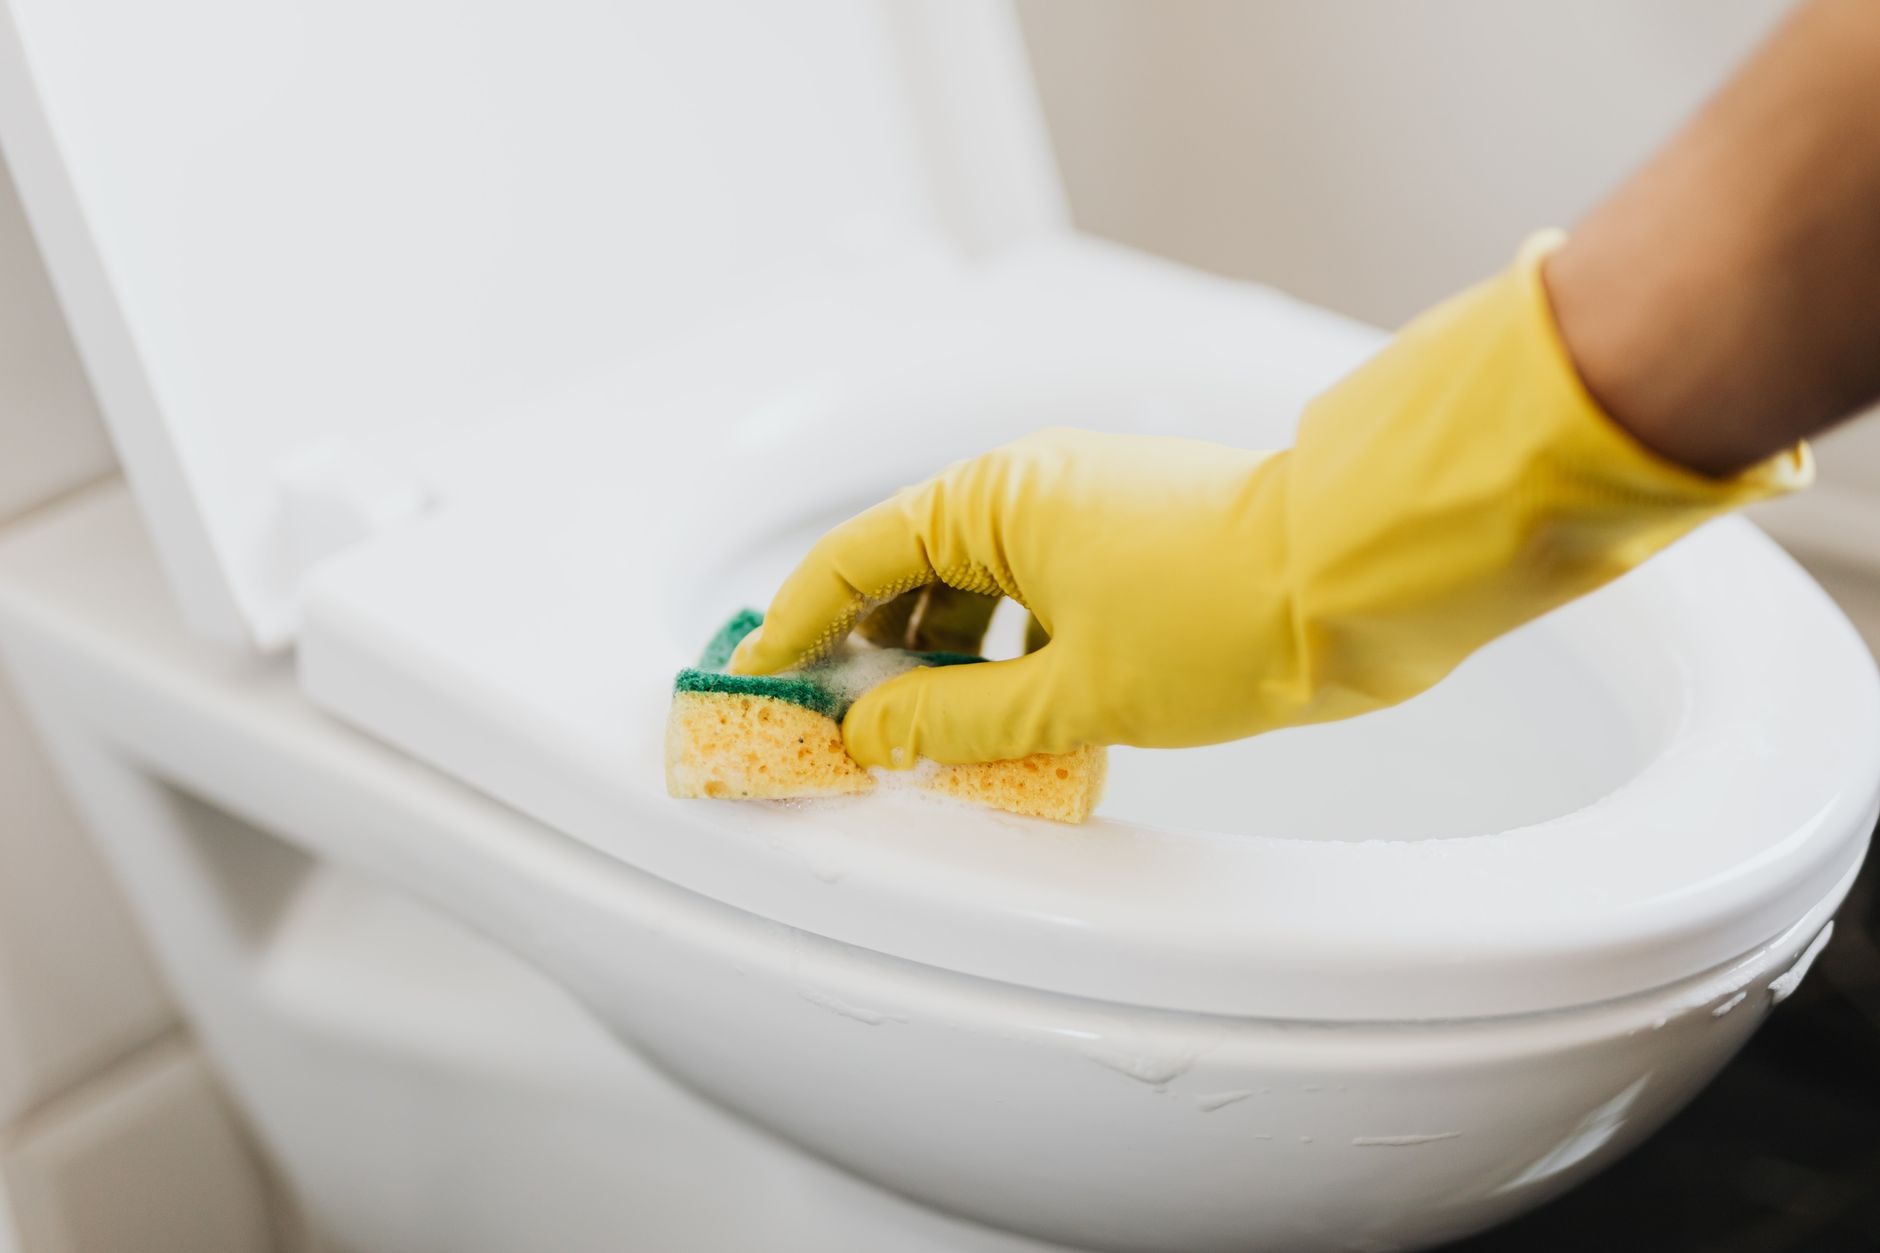
How to Fix a Running Toilet with Simple Tools
I tackled the annoying problem of a running toilet with just a few basic tools and a bit of patience. Here's how I got it done without calling a plumber.
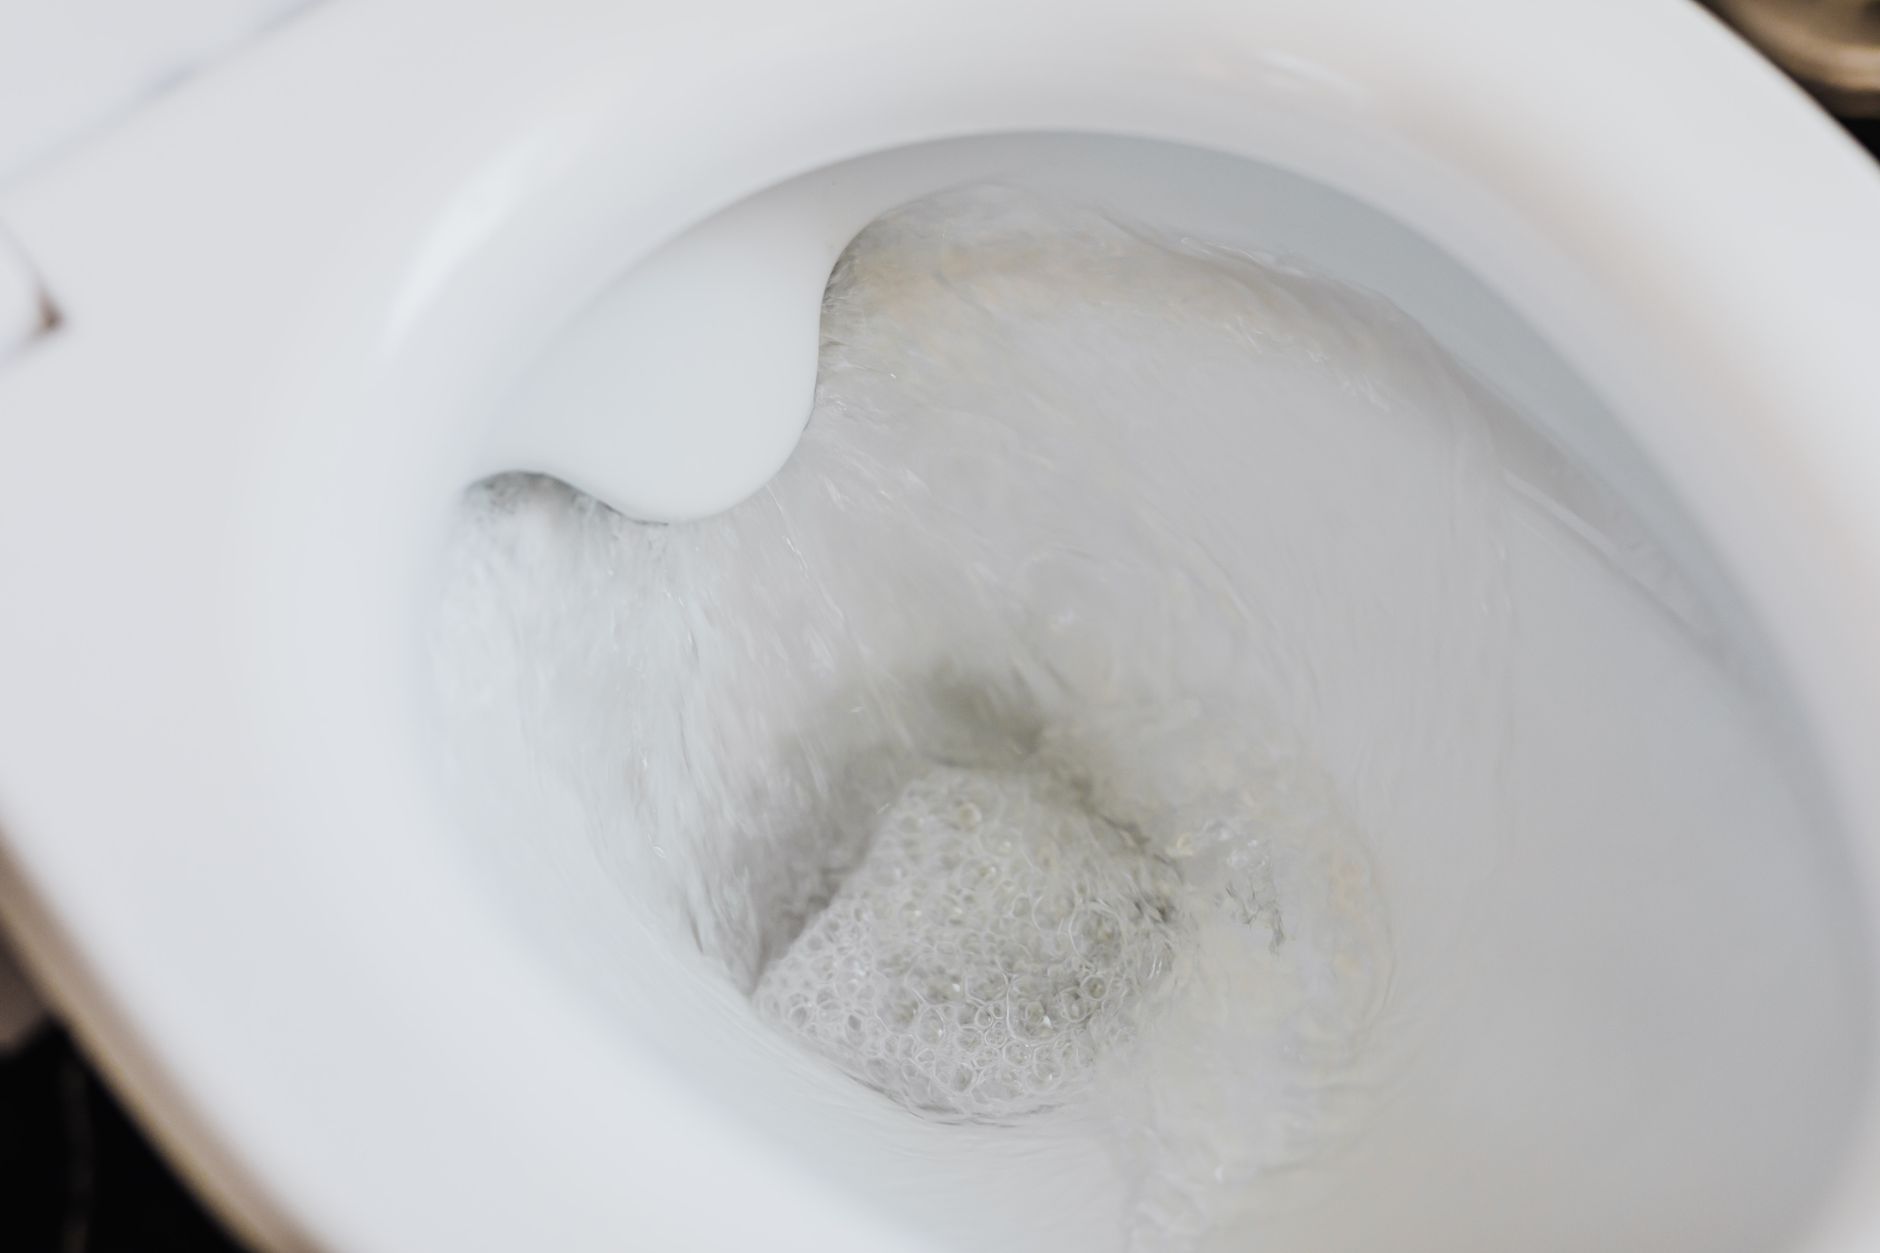
The Aggravation of a Running Toilet
It was a typical Sunday afternoon when I first noticed my toilet wouldn't stop running. The sound of water constantly flowing was not only irritating but also likely to skyrocket my water bill. Determined to fix it myself, I rolled up my sleeves and decided to tackle this common household issue. Through trial and error, I discovered that solving this problem was more about patience and less about having an extensive toolkit. I’ll guide you through my process, highlighting the tools I used and the steps I took to successfully fix my running toilet. By doing it myself, I also wanted to avoid the hassle and expense of hiring a plumber, which can add up quickly.
Identifying the Problem
When I first opened the toilet tank, everything seemed overwhelming. However, I started by flushing the toilet and observing which part was malfunctioning. It turned out that the flapper wasn't sealing properly, causing the water to continue running. I also noticed the fill valve wasn't shutting off as it should. Armed with this information, I knew I needed to address these two components. After a quick trip to the hardware store, I spent about $15 on a universal flapper and a new fill valve. These parts are widely available and affordable, making them a great starting point for any DIY enthusiast. The process of diagnosing the issue took about 30 minutes of careful observation and testing, but it saved me from unnecessary parts replacements.
The Repair Process: Tools and Time
With my new parts in hand, I gathered a few simple tools: an adjustable wrench, a pair of pliers, and a small bucket to catch any excess water. Replacing the flapper was straightforward. I turned off the water supply (a crucial step!), drained the tank, and removed the old flapper. Installing the new one was as easy as hooking it onto the overflow tube. Next, I tackled the fill valve. After disconnecting the water supply line with the wrench, I removed the old valve and installed the new one, adjusting it to the correct height for my tank. From start to finish, the whole process took me about an hour and a half. I also made sure to have a towel handy, as some water spillage during this process is inevitable.
Comparing Solutions for a Running Toilet
There are a few ways to fix a running toilet, each with its own pros and cons. Here's how they stack up in terms of cost, time, and difficulty. From my experience, understanding these options helps in deciding whether to attempt a DIY repair or call in a professional.
| Solution | Cost | Difficulty |
|---|---|---|
| Replace Flapper | $5 - $10 | Easy |
| Replace Fill Valve | $10 - $20 | Moderate |
| Call a Plumber | $100 - $150 | Easy (but costly) |
| Adjust Float | $0 | Easy |
| Temporary Plug | $1 - $2 | Easy |
Step-by-Step Guide to Fixing It Yourself
Here's a step-by-step guide based on my experience:
- Turn off the water supply by twisting the valve located under the toilet.
- Flush the toilet to drain excess water from the tank.
- Use a sponge or towel to soak up any remaining water in the tank.
- Remove the old flapper by detaching it from the overflow tube.
- Install the new flapper, ensuring it seals properly against the valve seat.
- If replacing the fill valve, disconnect the water supply line using a wrench.
- Remove the old fill valve and insert the new one. Adjust it to the manufacturer's specifications for your tank size.
- Reconnect the water supply line and turn the water back on slowly to check for leaks.
- Test the toilet by flushing and observing for any continuous running.
Q&A: Common Concerns About Fixing Toilets
Q: What if the toilet is still running after replacing the flapper and fill valve?
Double-check that the flapper is sealing completely and that the fill valve is adjusted to the proper height. It may also be worth checking the float to ensure it’s set correctly.
Q: Can I use any brand of flapper or fill valve?
Yes, as long as the parts are labeled as universal, they should fit most toilets. However, always verify compatibility with your specific model.
Q: What should I do if I notice a leak after replacing the parts?
Tighten all connections gently but firmly. If the leak persists, ensure that the washers and seals are correctly seated.
Q: How often should toilet components be replaced to prevent issues?
Regular inspection every few years can help catch problems early. Flappers and fill valves usually last about 4-5 years. Staying vigilant can help avert unexpected plumbing problems.
EditorialOur Take
Fixing a running toilet with simple tools is a manageable task for most homeowners and renters. It requires some patience and a willingness to get a little wet, but the savings make it worthwhile. Anyone comfortable with basic DIY tasks should find the process straightforward. If plumbing isn’t your thing, though, hiring a professional might be worth the peace of mind. For those looking to save money and learn a bit about home repair, tackling this project yourself is a rewarding experience. It's particularly suitable for those who enjoy understanding the mechanics of everyday household systems.
Published on .
Share now!

Jack Turner
DIY & Repairs Contributor
Jack Turner writes Dailynib's simple-repair guides. He believes most small household fixes are far less scary than they look once someone shows you the steps. Jack focuses on safe, beginner-friendly repairs that don't need a pro. Jack uses AI tools to research, draft, and help keep these articles accurate.
More from Jack →The information on this site is of a general nature only and is not intended to address the specific circumstances of any particular individual or entity. It is not intended or implied to be a substitute for professional advice.
Get our best tips in your inbox
A short, practical email now and then. No spam, and you can unsubscribe anytime.