Published on:
5 min read
By Daniel Brooks · Organizing Contributor
Explainer: The Benefits of Labeling Systems for Home Organization
I've discovered that using a clear labeling system enhances the organization and efficiency of my home. Here’s how I implemented it, mistakes I made, and tips for success.
The Moment I Realized I Needed a Labeling System
The day I decided to embark on a home organization overhaul was the moment I knew I needed a solid labeling system. My pantry was a chaotic mess, with mismatched jars and containers that made it impossible to find anything without a frantic search. I spent 15 minutes looking for brown sugar one afternoon, only to find it hard as a rock at the back of the shelf. It became clear that a labeling system was essential to streamline my daily routine and reduce frustration. In this article, I'll walk you through my journey of implementing an effective labeling system, the pitfalls I encountered, and how you can easily apply this to your home.
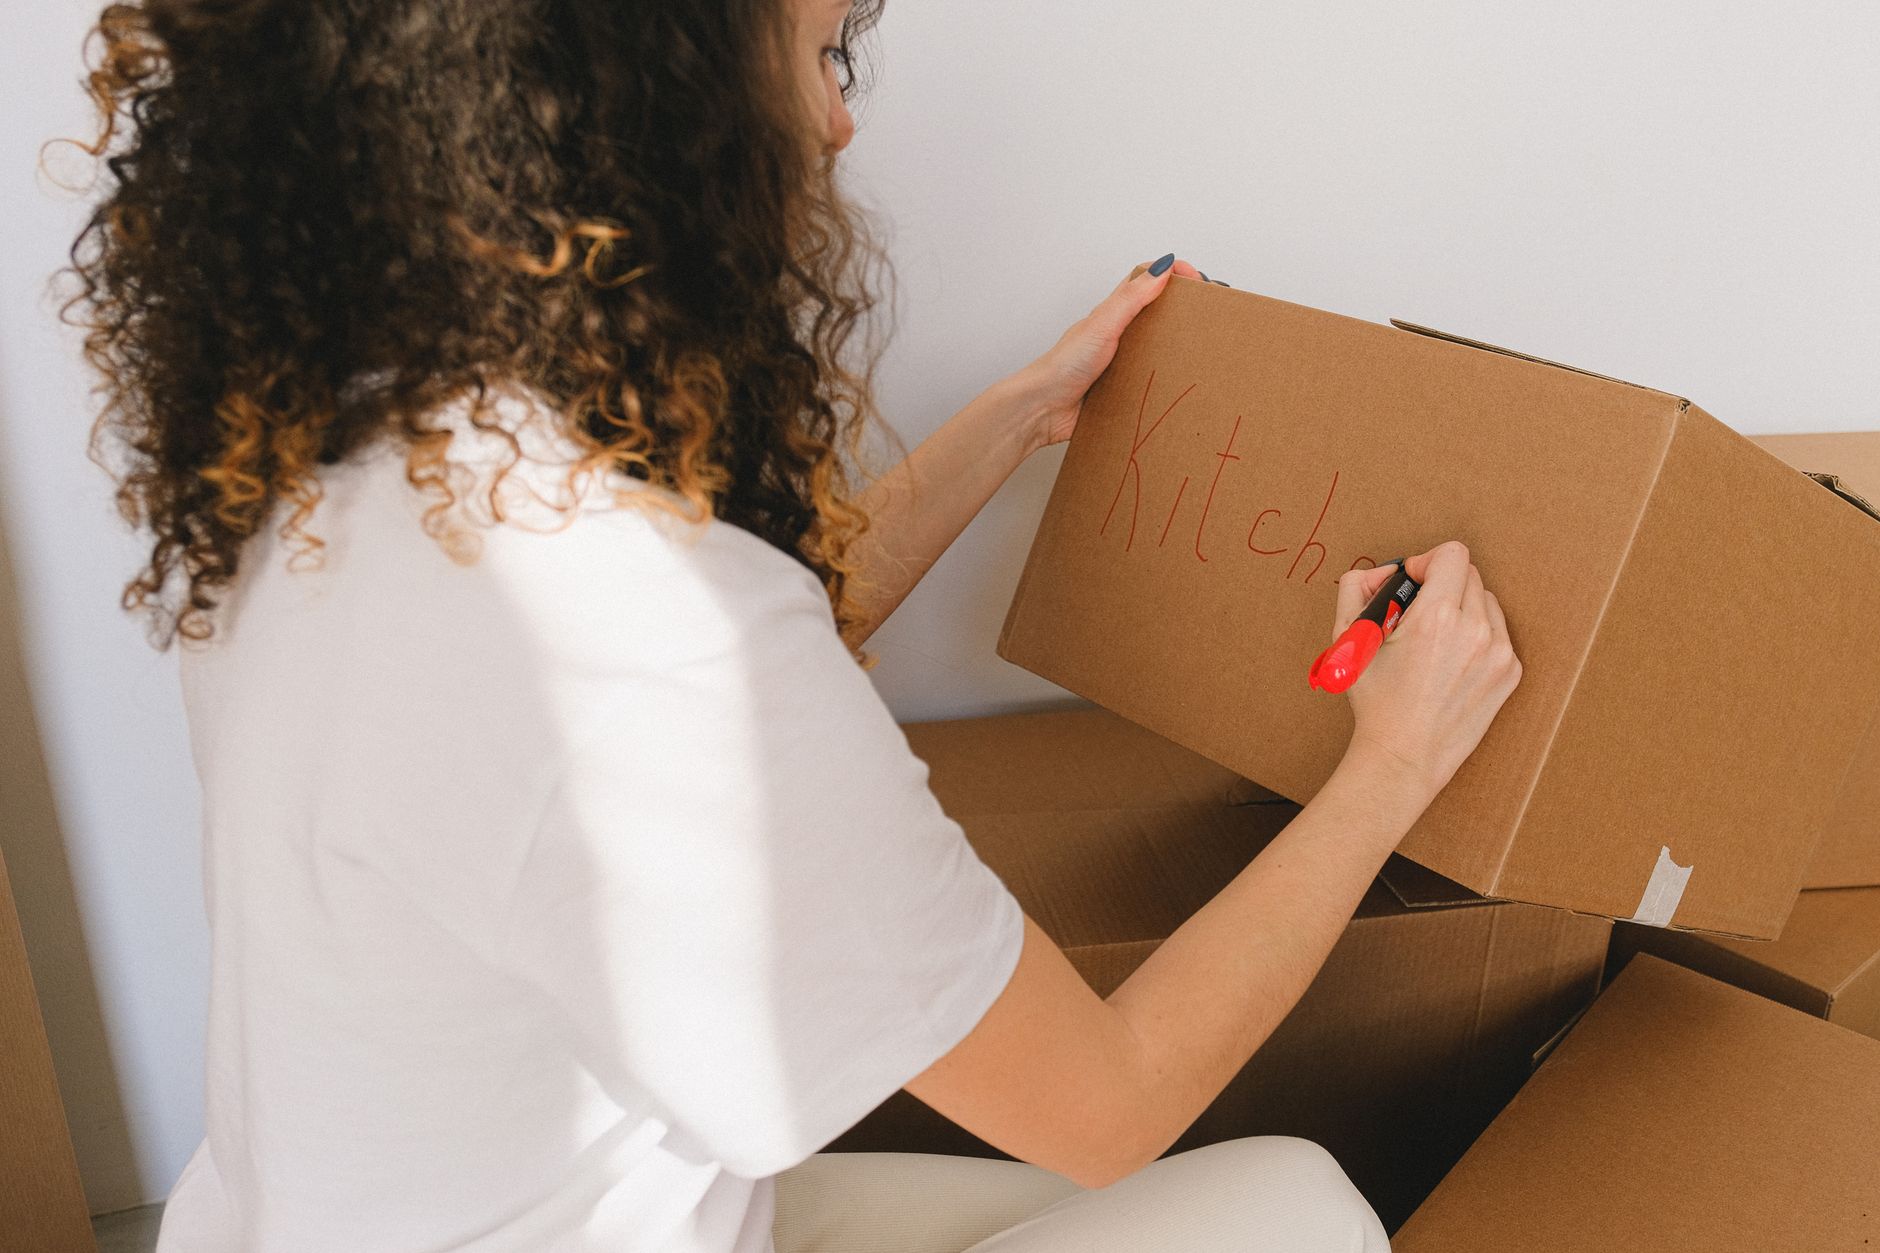
Labeling in the Kitchen: A Real-Life Example
The kitchen was my first target. Armed with a label maker costing about $30 and a set of reusable plastic containers, I set to work. I labeled every container with not just the contents, but also the expiry dates. It took me about three hours to decant, label, and organize all my pantry items. The first week after this overhaul, I shaved at least five minutes off my meal prep time because I no longer had to hunt for ingredients. One mistake I made initially was using labels that were too small; they were hard to read at a glance. I switched to larger fonts, and this small change made a massive difference in usability.
I also tackled my spices, which were previously stored in a jumbled drawer. I purchased a spice rack for $20 and labeled each jar on the lid. This not only improved visibility but also added a touch of order to the otherwise chaotic drawer. Now, I can grab the cumin or paprika without unscrewing multiple lids to find the right one. Additionally, I labeled the insides of my cabinet doors with a list of what's inside. This way, I can quickly assess if I need to restock any essentials without having to take everything out.

Extending Labels Beyond the Kitchen
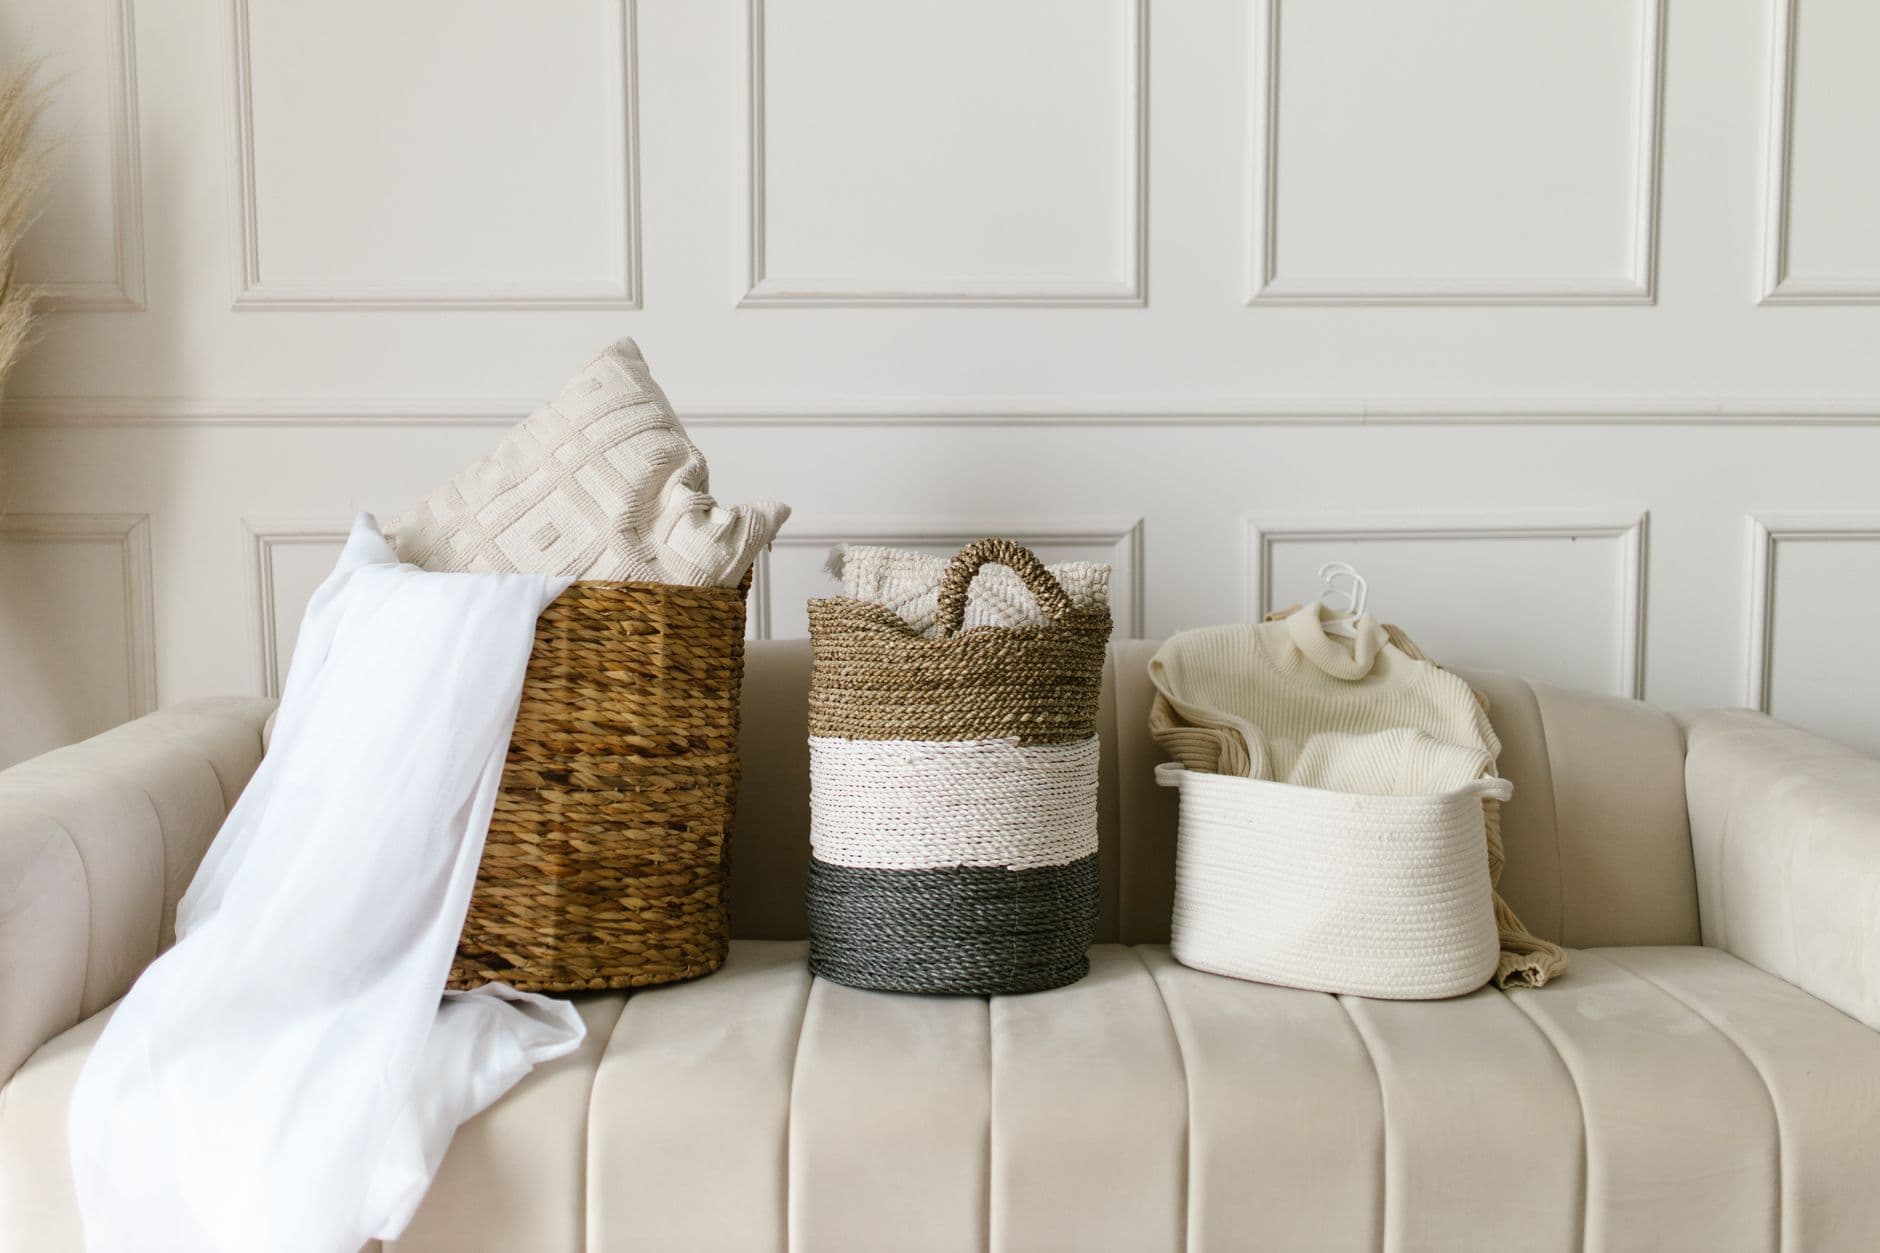
After my success in the kitchen, I moved to other areas of the house. My linen closet was the next target. By purchasing a set of inexpensive fabric bins (around $40 for a set of six) and labeling them according to the contents — 'Sheets', 'Towels', 'Guest Bedding' — I managed to create a system that not only saved time but also looked visually appealing. The upfront time investment was an hour, but the payoff was immediate. Now, when I need a guest towel, I can grab one without rifling through a pile of bedding.
This part of the project also taught me the importance of flexibility. I initially labeled one bin for 'Winter Blankets', but found it more useful as 'Seasonal Items' as I rotated the contents based on the time of year. In the garage, I labeled bins for 'Tools', 'Garden Supplies', and 'Sports Equipment'. Each bin cost about $10 and took 30 minutes to organize and label. The garage no longer felt like a black hole where things disappeared forever. I also organized my children's playroom, where I labeled baskets and bins for 'Legos', 'Art Supplies', and 'Board Games'. This not only helped my kids find their toys easily but also encouraged them to tidy up after playtime.
Comparing Labeling Tools
Choosing the right tools is essential for a smooth labeling process. Here's a comparison of some popular options I considered.
| Tool | Pros | Cons |
|---|---|---|
| Label Maker | Easy to use; various font sizes | Requires refills; can be expensive |
| Chalkboard Labels | Reusable; easy to change | Smudges easily; needs chalk pens |
| Paper Labels | Inexpensive; easy to write on | May peel off; not waterproof |
| Vinyl Stickers | Durable; waterproof | Not easily removable |
Practical Steps to Implement Your Own System
If you're ready to implement your own labeling system, here are some steps to guide you:
- Start with one area, like the kitchen or bathroom, to avoid feeling overwhelmed.
- Purchase a label maker or labels appropriate for your containers.
- Set aside time to declutter and organize before labeling.
- Use clear, large fonts for readability.
- Ensure labels are consistent in style and placement for visual coherence.
- Adjust and re-label as needed, based on practical use.
Q&A on Labeling Systems
Q: Do labels really save time?
Yes, they reduce search time and improve efficiency by making everything easy to find.
Q: What if I change my mind about a label?
Use removable labels or chalkboard labels for flexibility, allowing you to change as needed.
Q: Do I need a label maker?
Not necessarily. While convenient, you can use pre-made labels or even handwritten ones if you're on a budget.
Q: How do I deal with changing contents?
Use erasable labels like chalkboard or dry-erase versions, which can be updated easily.
Q: How do I keep my labels from peeling off?
Ensure surfaces are clean and dry before labeling, and consider using a clear adhesive overlay for areas exposed to moisture or frequent handling.
EditorialOur Take
Implementing a labeling system in my home has been transformative, reducing both clutter and chaos. It's an investment in time and a small cost that pays back in daily efficiency. However, it's not for everyone. If you thrive in a more spontaneous environment, labeling every item might feel restrictive. For those like me, who love order and predictability, it's a game-changer. If you decide to try it, start small, and customize it to suit your needs. Over time, you'll find that the system evolves with you, making life just a bit easier every day. The key is to maintain flexibility and adjust the system as your household's needs change.
Published on .
Share now!

Daniel Brooks
Organizing Contributor
Daniel Brooks writes about getting (and staying) organized at home. After years of living in small rentals, he is convinced that good systems beat more storage boxes every time. He focuses on simple routines that survive a busy week. Daniel uses AI tools to research, draft, and help keep these articles accurate.
More from Daniel →The information on this site is of a general nature only and is not intended to address the specific circumstances of any particular individual or entity. It is not intended or implied to be a substitute for professional advice.
Get our best tips in your inbox
A short, practical email now and then. No spam, and you can unsubscribe anytime.