Published on:
5 min read
By Daniel Brooks · Organizing Contributor
10 Steps to Organize Your Garage Effectively
I transformed my chaotic garage into an orderly haven in just a weekend. Here's a detailed guide to help you reclaim your space too.
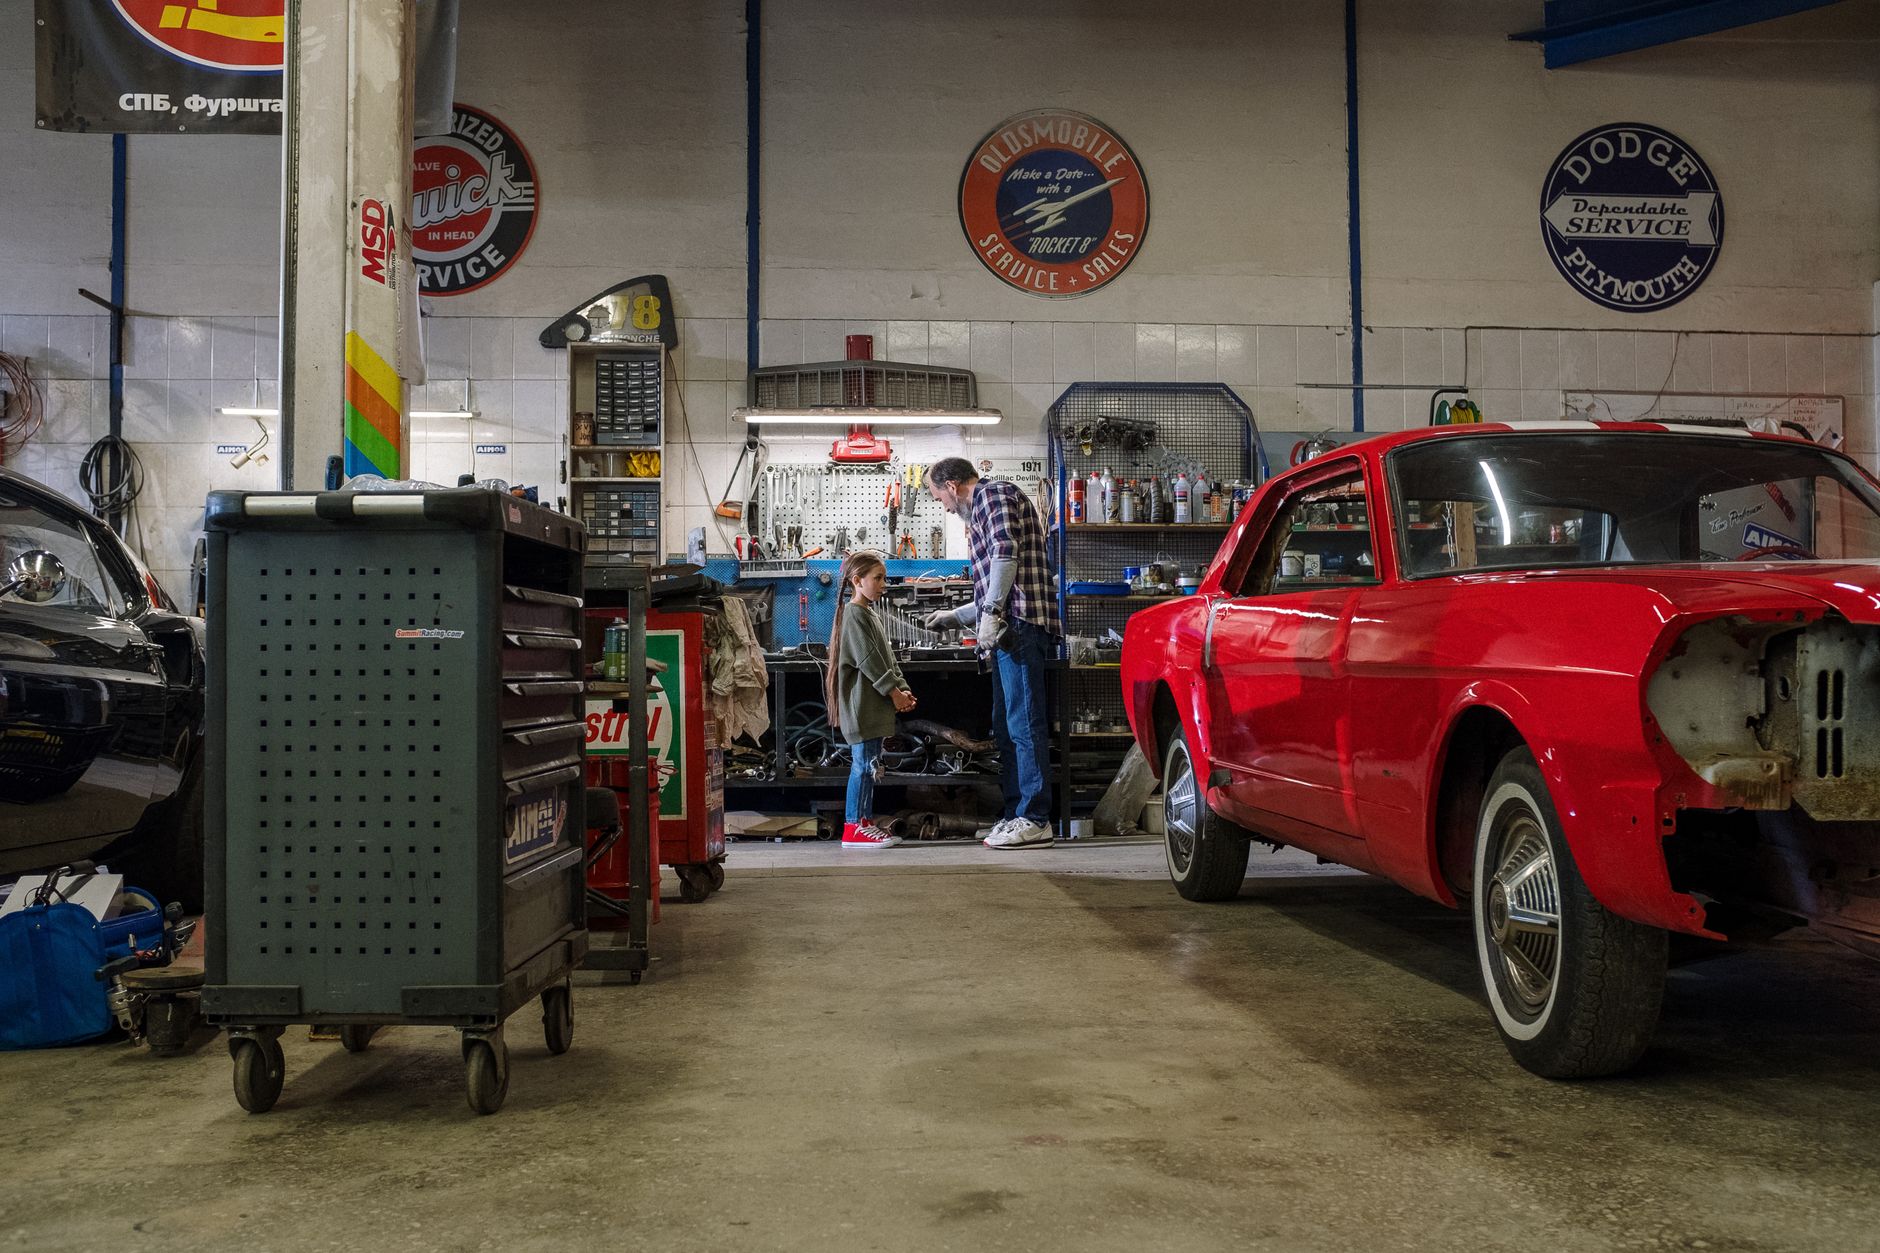
Turning Chaos into Order: My Garage Overhaul
A few months back, my garage had morphed into a cluttered abyss where finding a screwdriver was like a treasure hunt. Determined to reclaim the space, I spent a weekend transforming it into an orderly haven. The clutter had gotten out of hand, making it difficult to even park the car inside. This experience taught me a lot about the process and pitfalls of garage organization. Here's a detailed guide based on my personal experience to help you organize your garage effectively. By following this systematic approach, you can reclaim your space and make it functional again.
The Initial Assessment: Understanding the Mess
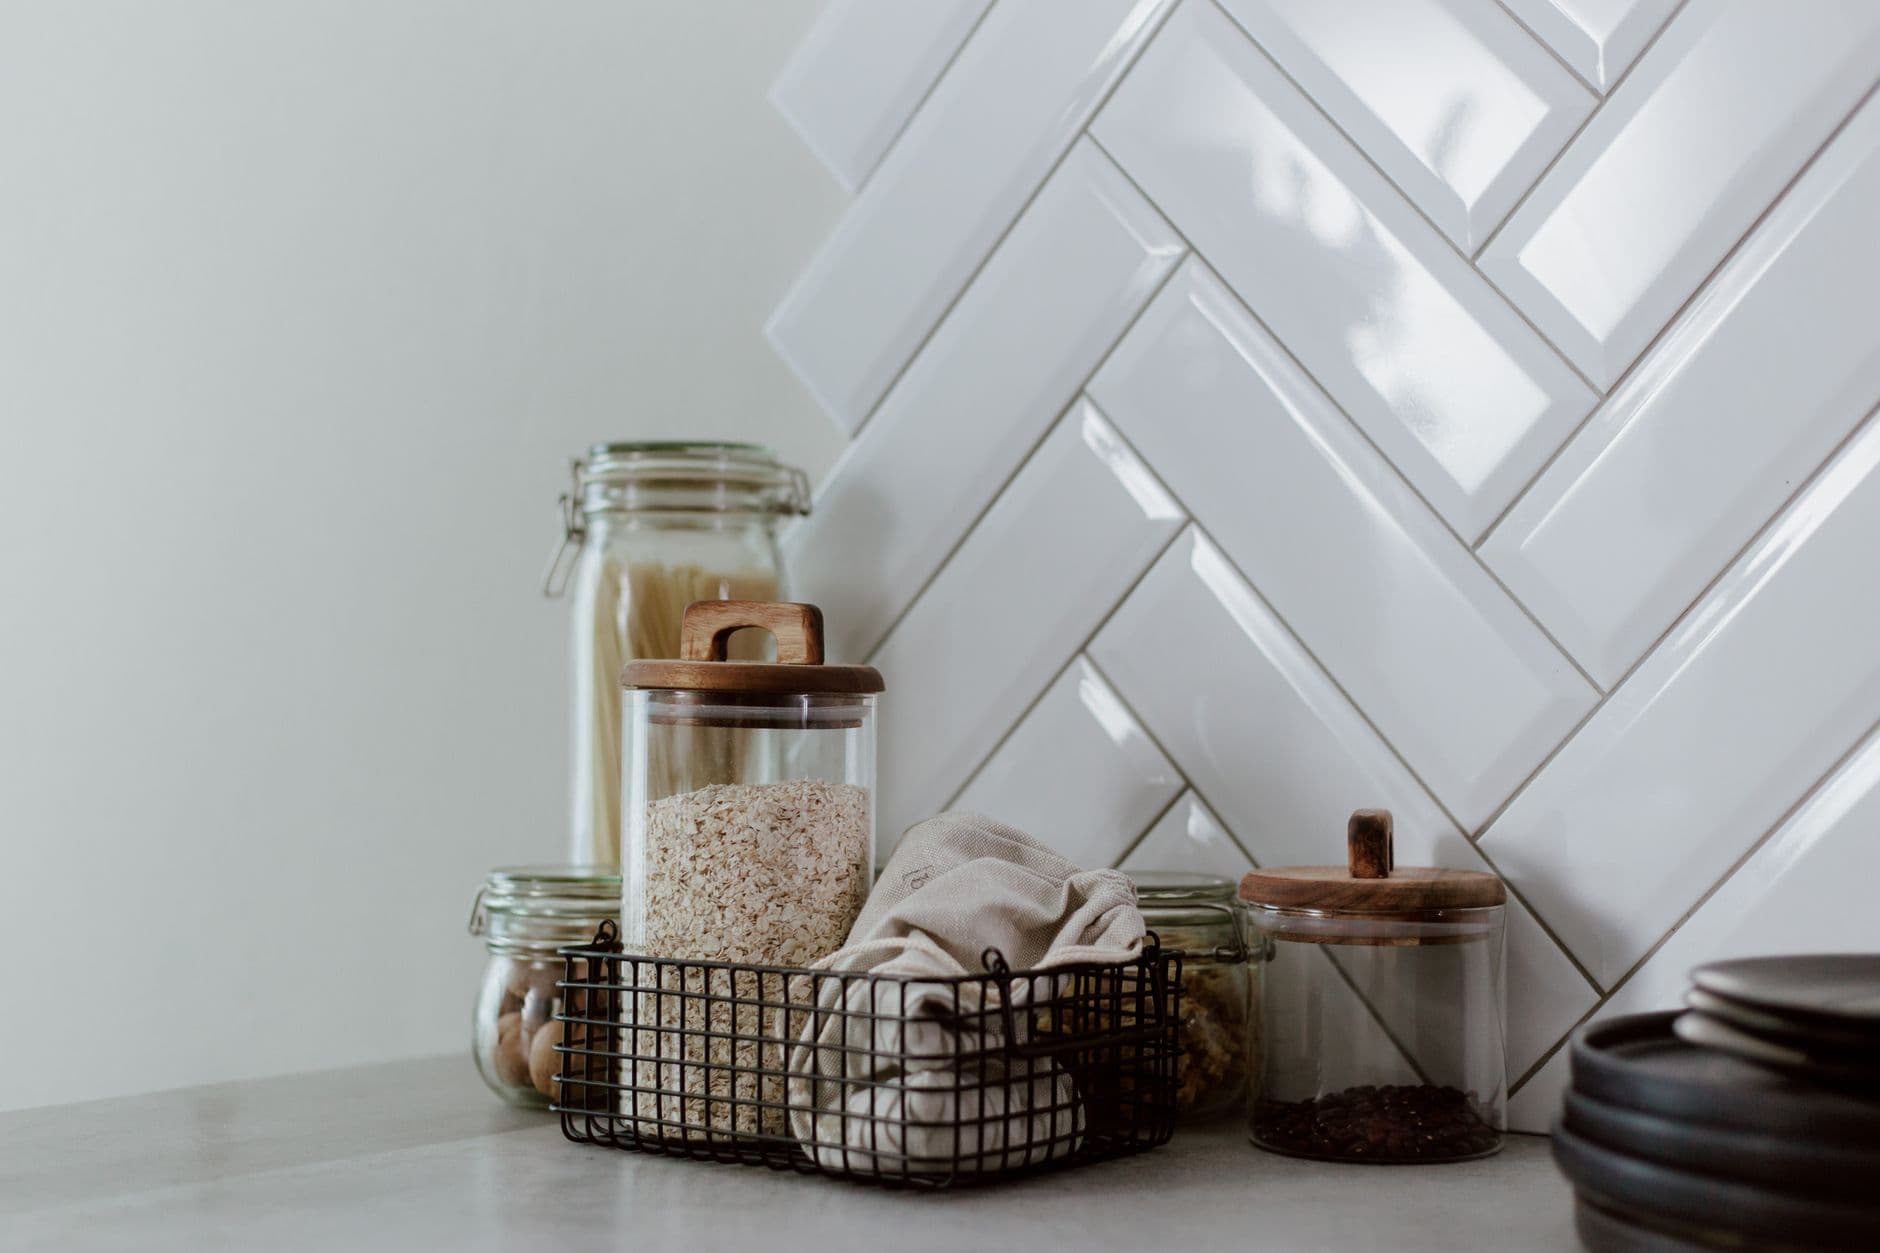
The first step I took was to understand what exactly was contributing to the chaos. I spent about two hours just observing and listing items, from old holiday decorations to forgotten garden tools. This helped me categorize things into 'keep', 'donate', and 'trash' piles. Surprisingly, my 'trash' pile was the largest, which included broken furniture and unused gadgets that were beyond repair. After clearing out the obvious trash, I realized that cardboard boxes were a major culprit; they were flimsy and consumed more space than necessary. If I could do it again, I'd skip the boxes altogether and immediately invest in heavy-duty plastic bins. These bins not only stack well but also protect against moisture and pests. I ended up discarding about 20 cardboard boxes, which freed up a surprising amount of space.
Creating Zones: A Game Changer
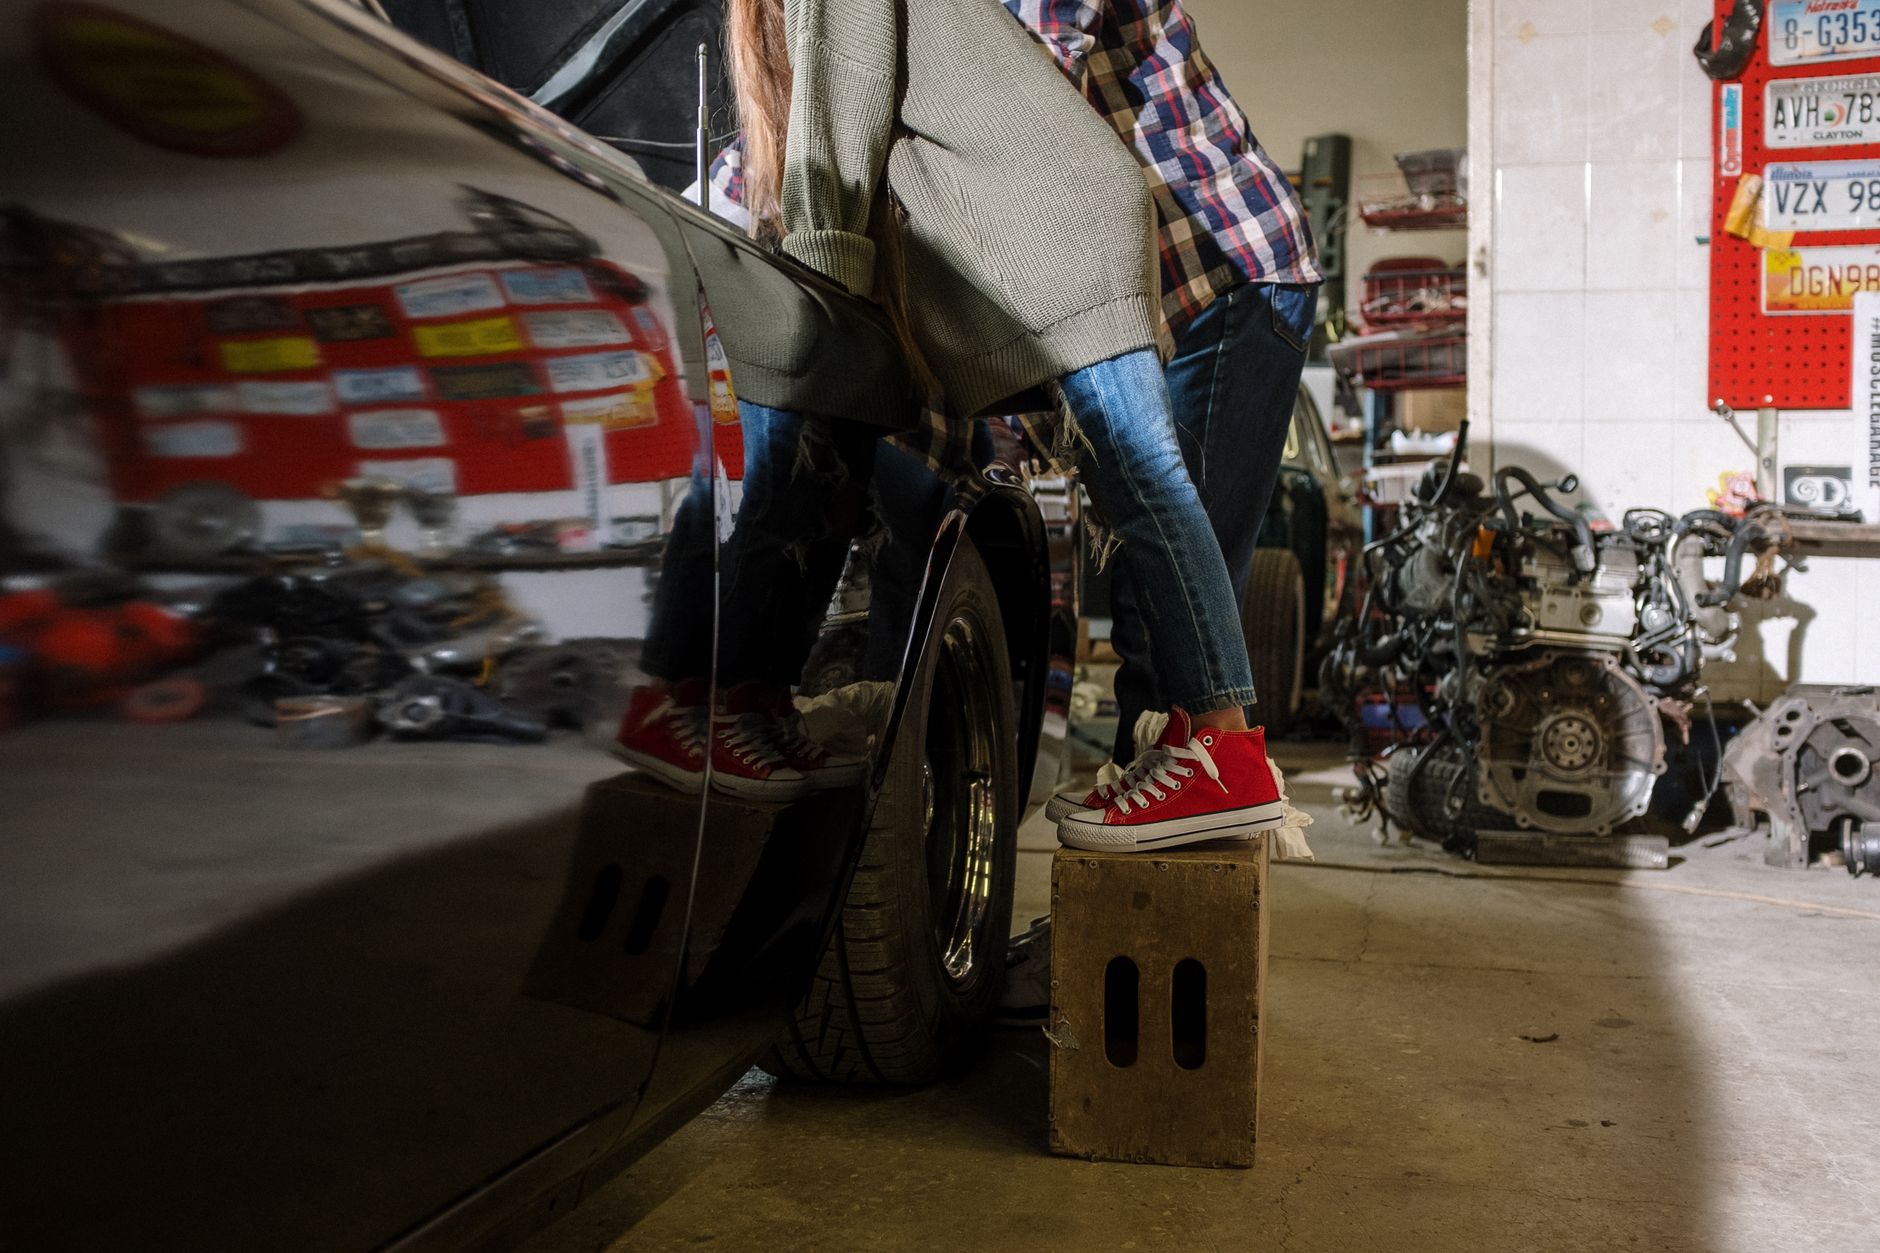
Creating specific zones for different types of items was crucial. I designated one corner for sports equipment, another for tools, and a section for seasonal items. It took about four hours to sort through and place everything, but this zoning system has saved me hours of searching ever since. Each zone was defined by the type of activity or family member using it. For instance, my kids' sports equipment was stored on lower shelves for easy access. I labeled each zone with clear signs, and this simple step made a huge difference in accessibility. Initially, I underestimated the number of labels needed, so I ended up making a second trip to the store. Next time, I'd buy a label maker and extra supplies upfront. Also, I realized that transparent bins worked better for visibility, so I could quickly see where everything was stored. The zones not only made the garage look organized but also made it easier to keep it that way.
Comparing Storage Options
During the process, I compared several storage solutions to see which fit best in my space. The key was balancing cost, durability, and space efficiency. I needed something that could withstand the fluctuating temperatures of my garage and the weight of heavy tools. Here's how the options stacked up.
| Storage Option | Cost | Durability |
|---|---|---|
| Wire Shelving Units | $90 each | High |
| Plastic Bins | $8 each | Moderate |
| Pegboards | $25 each | High |
| Metal Cabinets | $150 each | Very High |
| Overhead Storage Racks | $120 each | High |
Step-by-Step: How I Organized My Garage
- Start with a complete clean-out: Remove everything from the garage. It took me about three hours to get everything out and properly sorted.
- Categorize items into 'keep', 'donate', and 'trash'. I found this step surprisingly liberating, as it allowed me to let go of things I hadn't used in years.
- Invest in durable storage solutions like shelving units and plastic bins. I spent around $250 on these solutions, which felt worthwhile given the improved organization.
- Create specific zones for categories of items, such as tools, sports gear, and seasonal decorations. This not only simplifies finding things but also puts them away much quicker.
- Label everything clearly for easy identification, using a label maker for durability. This step took me about an hour but has saved countless hours of searching.
- Install pegboards for tools and lightweight items, which makes them easy to access and return. Pegboards are incredibly versatile for hanging items like garden tools and smaller hardware.
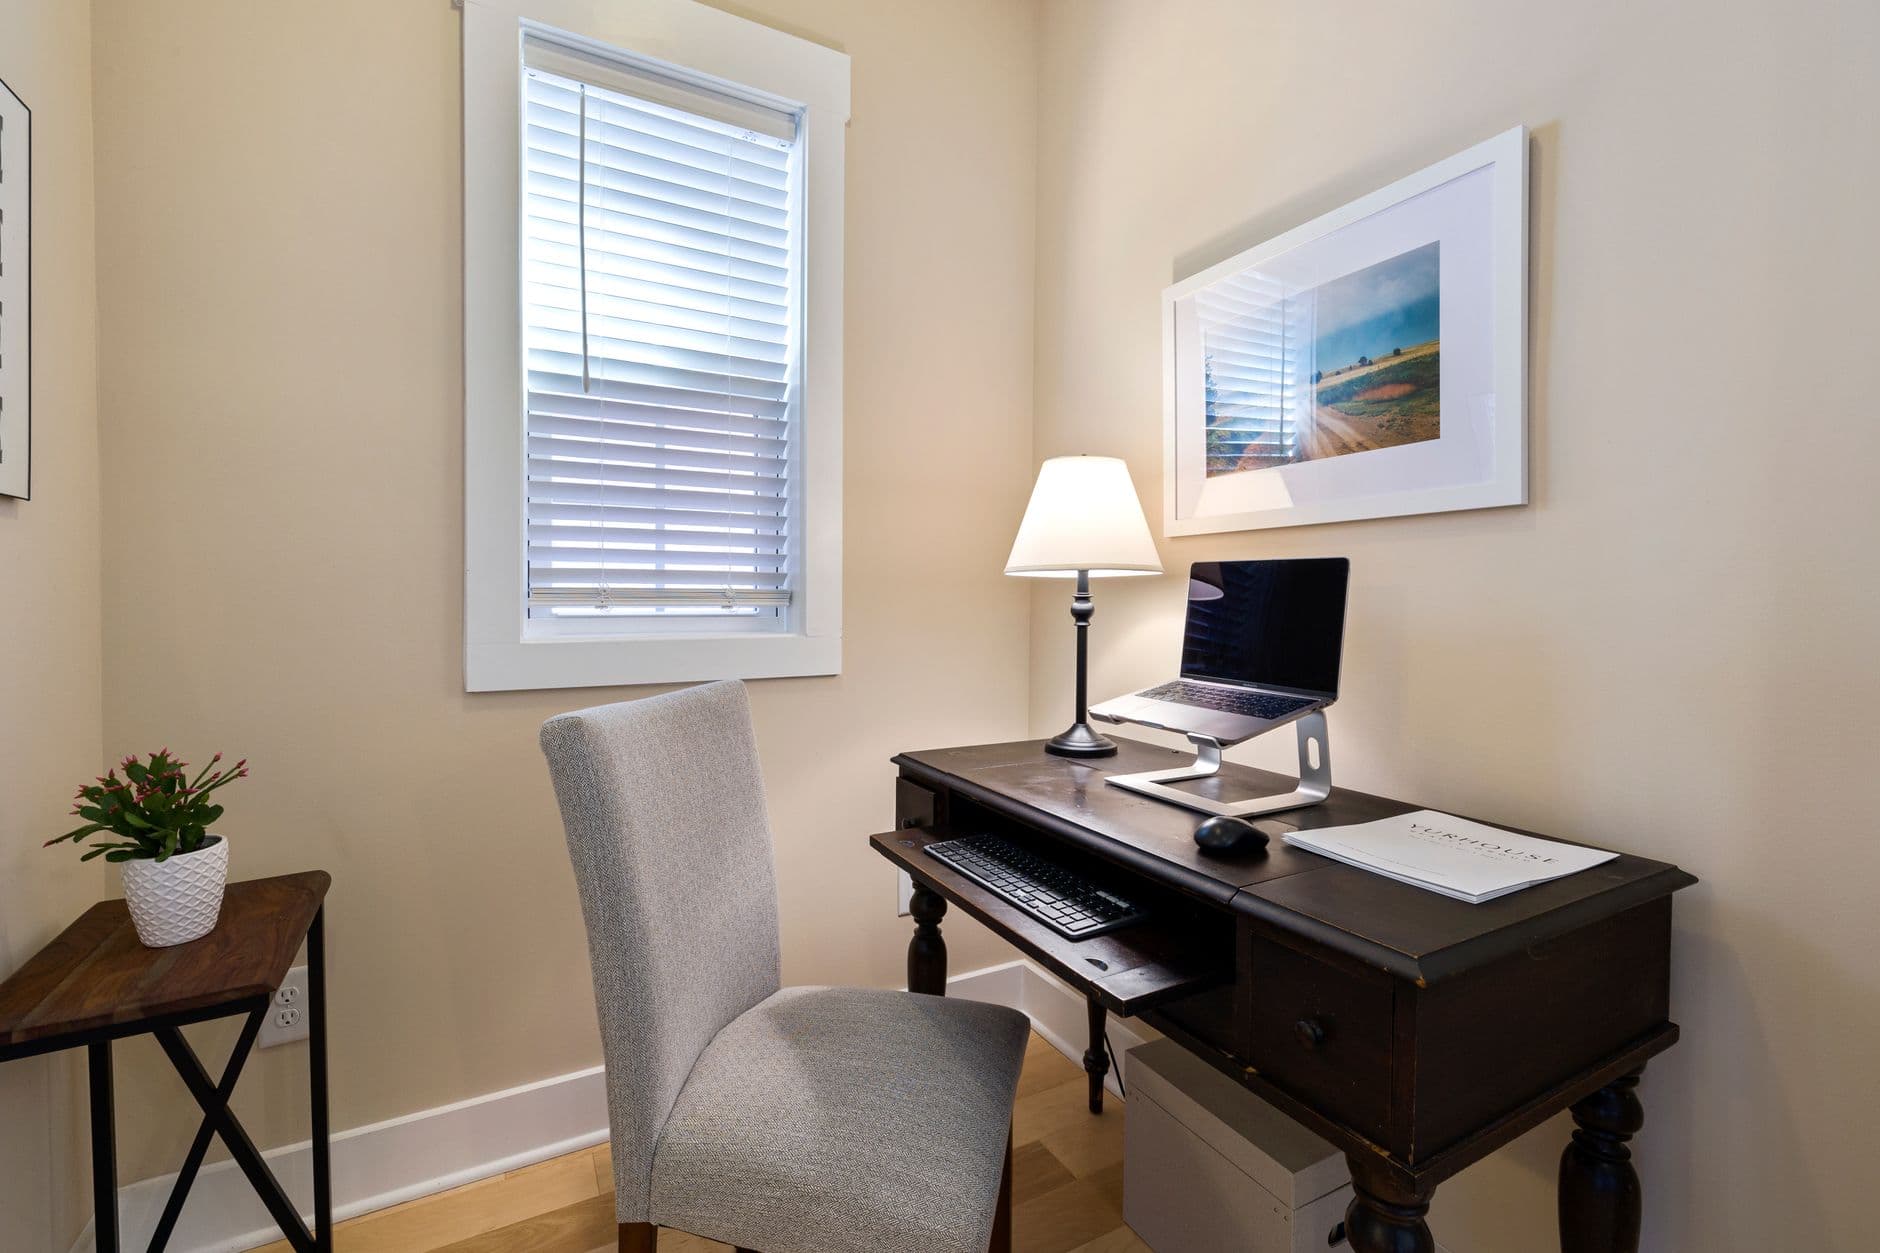
- Allocate a dedicated space for frequently used items near the entrance, like a small workstation for quick repairs. Having a clear spot for these activities prevents clutter from accumulating.
- Utilize overhead spaces for bulky items not frequently used, like camping gear or holiday decor. This freed up valuable floor space for more accessed items.
- Regularly purge items that are no longer needed or useful to maintain organization. I plan to revisit my garage every six months to keep things under control.
- Schedule bi-annual reviews to adjust zones or storage needs as family activities change. This ensures that the system evolves with our needs.
Q&A: Common Garage Organization Questions
Q: How long did the entire process take?
I completed it in two full days, but it can vary depending on the garage size and the amount of stuff you have.
Q: What if I have limited space?
Maximize vertical space with wall-mounted shelves and pegboards. Consider using hooks on walls and the ceiling for hanging bikes or ladders.
Q: How can I maintain this organization long-term?
Regularly declutter, especially every season, and update labels as you add or remove items. Consider a 'one-in, one-out' policy to keep storage under control.
Q: What was the total cost for organizing?
I spent around $300 on storage solutions and labeling supplies. The expense was justified by the peace of mind and functional space I gained.
EditorialOur Take
Organizing a garage can be daunting, but with a systematic approach, it's entirely manageable. This method worked well for me as it turned chaos into a controlled environment. It's ideal for anyone who feels overwhelmed by clutter but is ready to invest a weekend into transforming their space. The result is a more functional space that can accommodate various activities and store items efficiently. However, if you're on a tight budget or have time constraints, you might need to break the process into smaller tasks over several weeks. It's not a quick fix, but the long-term benefits of having a tidy, accessible space are well worth the effort.
Published on .
Share now!

Daniel Brooks
Organizing Contributor
Daniel Brooks writes about getting (and staying) organized at home. After years of living in small rentals, he is convinced that good systems beat more storage boxes every time. He focuses on simple routines that survive a busy week. Daniel uses AI tools to research, draft, and help keep these articles accurate.
More from Daniel →The information on this site is of a general nature only and is not intended to address the specific circumstances of any particular individual or entity. It is not intended or implied to be a substitute for professional advice.
Get our best tips in your inbox
A short, practical email now and then. No spam, and you can unsubscribe anytime.