Published on:
5 min read
By Sophia Bennett · Kitchen & Pantry Writer
Bread Baking at Home: How Hard Can It Be?
Baking bread at home was a challenging yet rewarding adventure I embraced last month. From mixing to kneading, I learned the hard way what works and what doesn't.
My First Foray Into Bread Baking
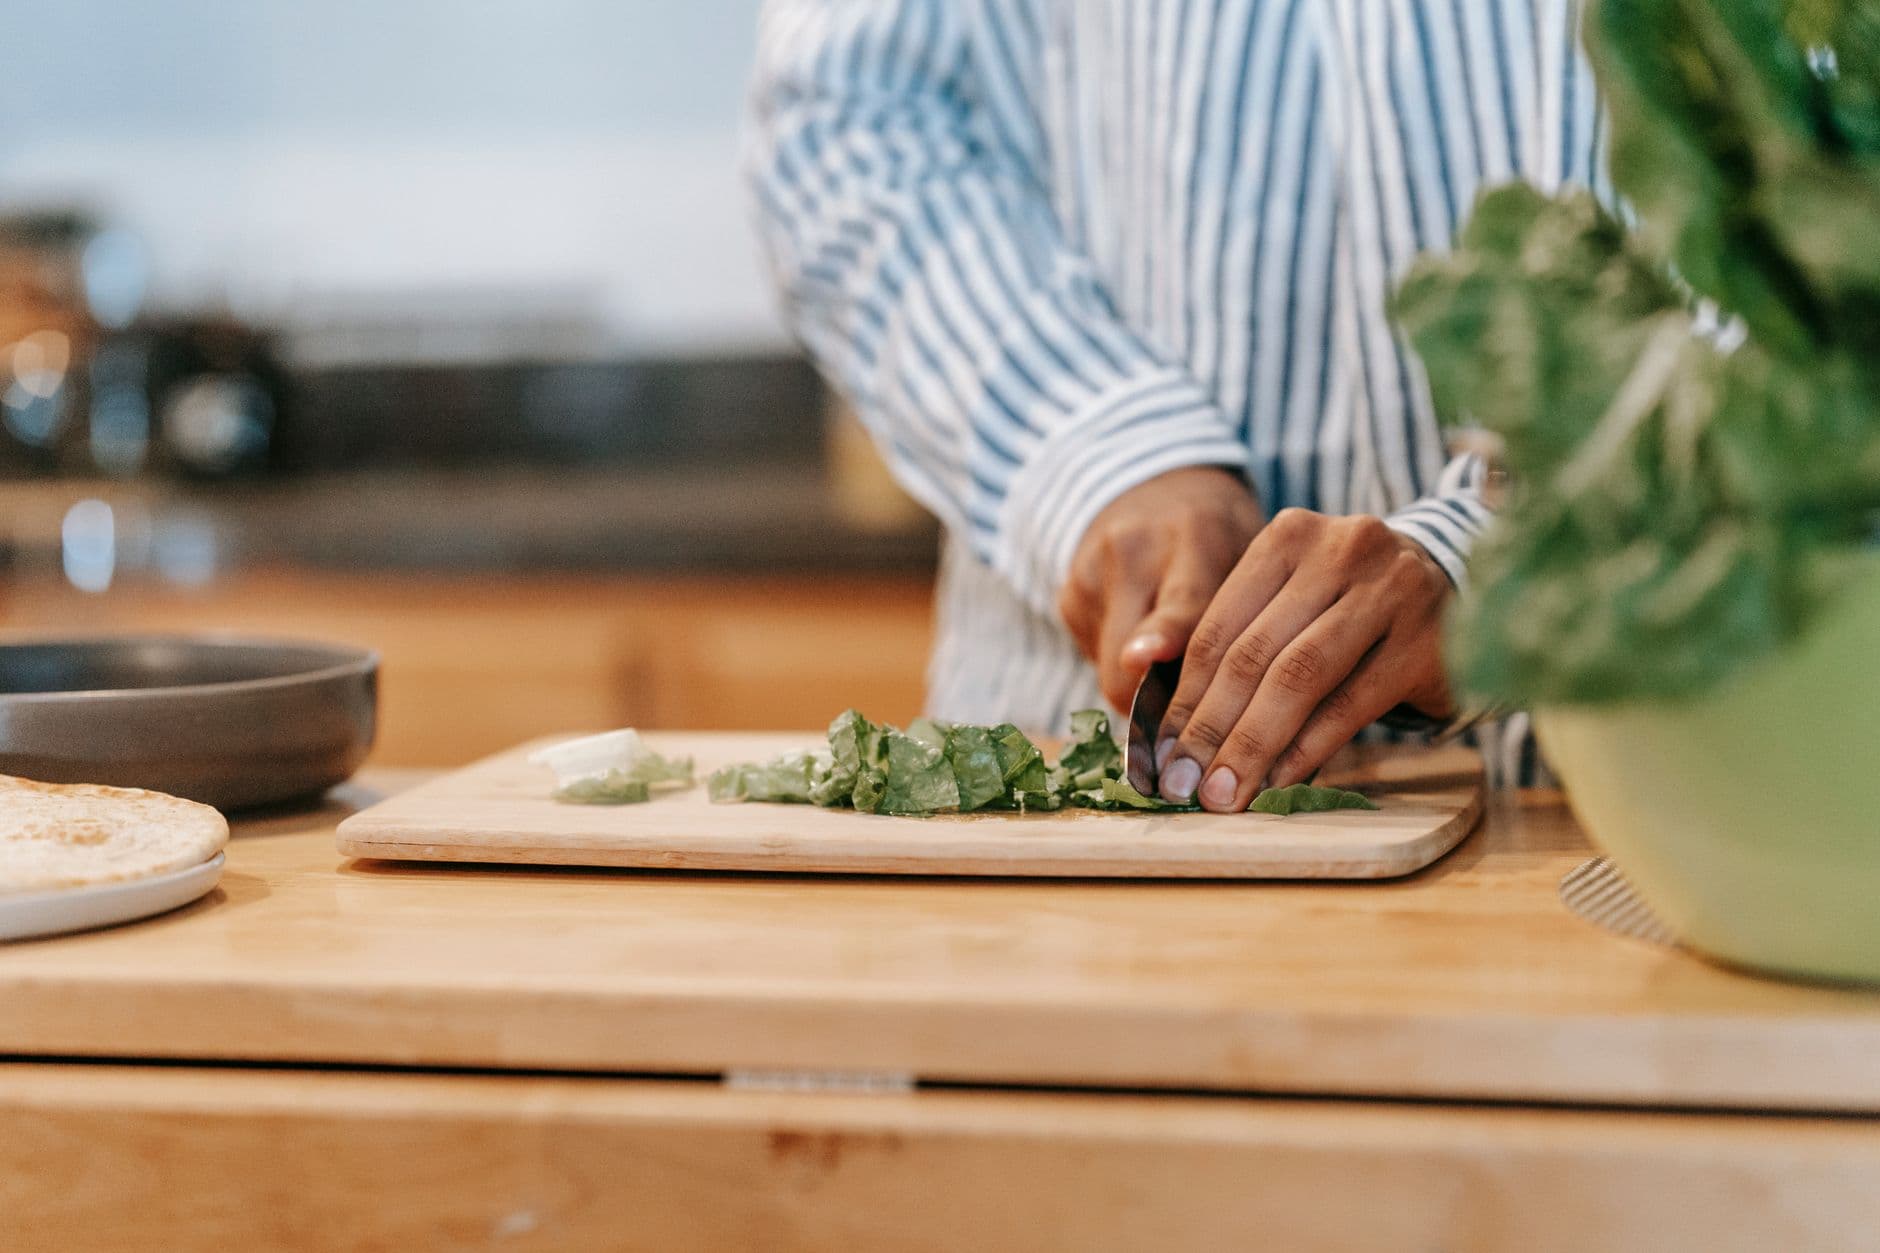
Last month, I decided to bake bread at home for the first time. Naively, I thought it would be a straightforward process—just mix some ingredients and pop it in the oven. Spoiler: it wasn't that simple. I realized that bread baking is both an art and a science. My kitchen turned into a mini chemistry lab as I learned about yeast activation, gluten development, and proofing times.
The sense of accomplishment when turning pantry staples into a warm, crusty loaf is indescribable. However, there were hurdles along the way. This article will walk you through my journey, including what flopped, what finally worked, and practical tips for your own bread-baking adventures. If you’ve ever wondered if baking bread at home is worth the effort, read on to find out how my trials unfolded.
The Ingredients and the Mishaps
I started with a simple recipe that called for flour, water, yeast, and salt. The total cost for these ingredients was under $10, which is a steal compared to buying specialty artisanal loaves. My first batch didn’t rise properly; I’d missed the mark on water temperature for activating the yeast. It needs to be between 100°F and 110°F. I used water that was too cold, around 85°F, which left the yeast sleepy and the dough dense.
After some research, I realized that the temperature was crucial. Too hot, and you risk killing the yeast; too cold, and it remains inactive. With a digital kitchen thermometer, I perfected the water temperature, which made a huge difference in the next batch. My dough started rising as it should, achieving a fluffy and light texture. Patience became my ally as I learned that rushing any step often led to less-than-desirable results.
Second Attempt: Kneading and Patience
With the water temperature issue solved, kneading became my next hurdle. I initially tried to knead by hand for about 10 minutes but ended up with sticky hands and uneven dough. Switching to my stand mixer with a dough hook saved the day. I let the mixer do the work for 7 minutes at a medium speed. The dough transformed into a smooth, elastic ball that passed the 'windowpane test.' This test—stretching a bit of dough thin enough to see light through it without tearing—proved the gluten was well-developed.
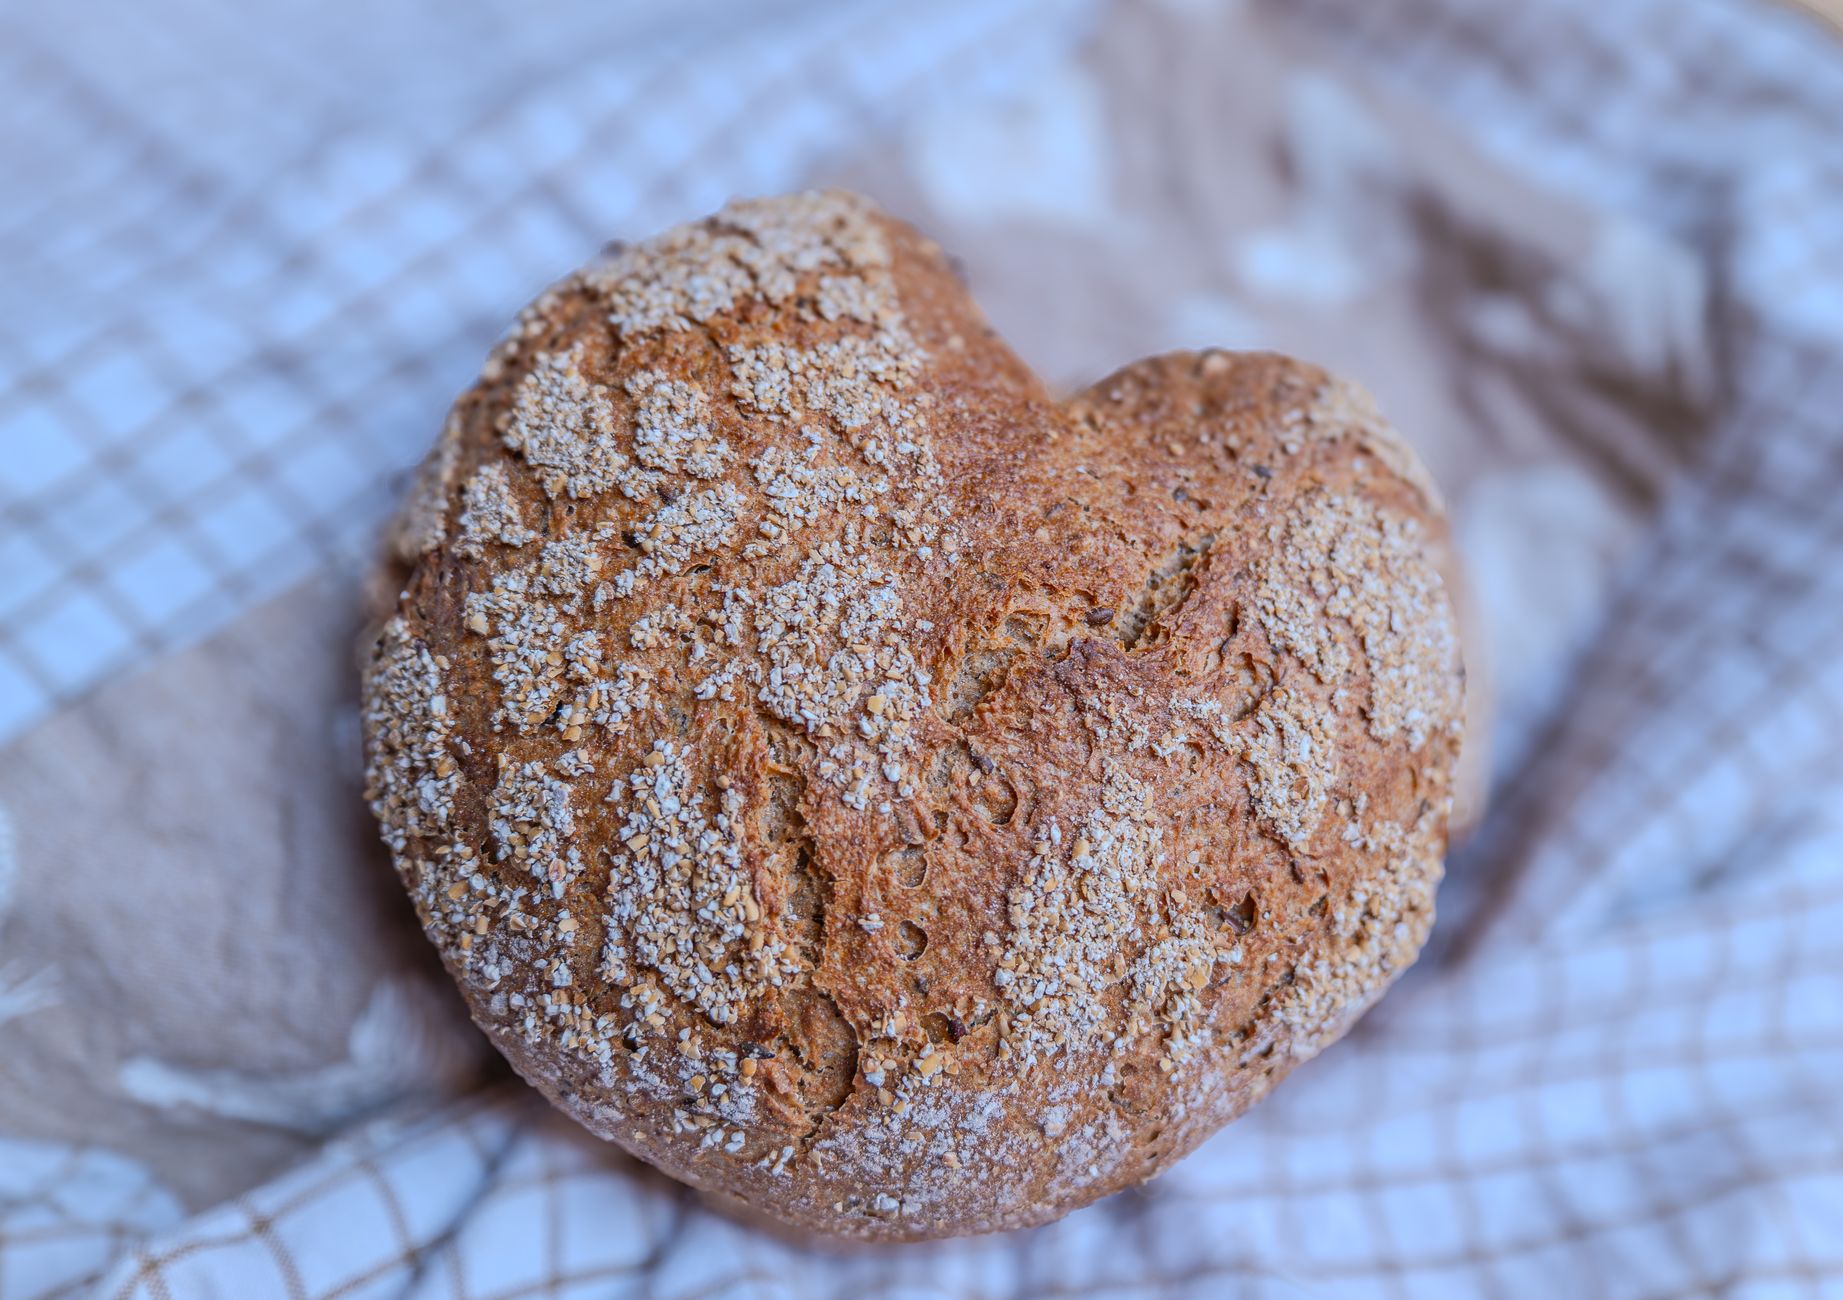
Patience is crucial in bread-making; I let the dough proof for a full 90 minutes until it had doubled in size. I found that proofing the dough in a warm, draft-free location, like an oven with just the light on, worked wonders for consistent results. This step is essential for the dough to develop its flavor and texture. In the end, my second attempt resulted in a loaf with a beautifully chewy crumb and a golden crust that crackled with each slice.
Comparing Baking Methods
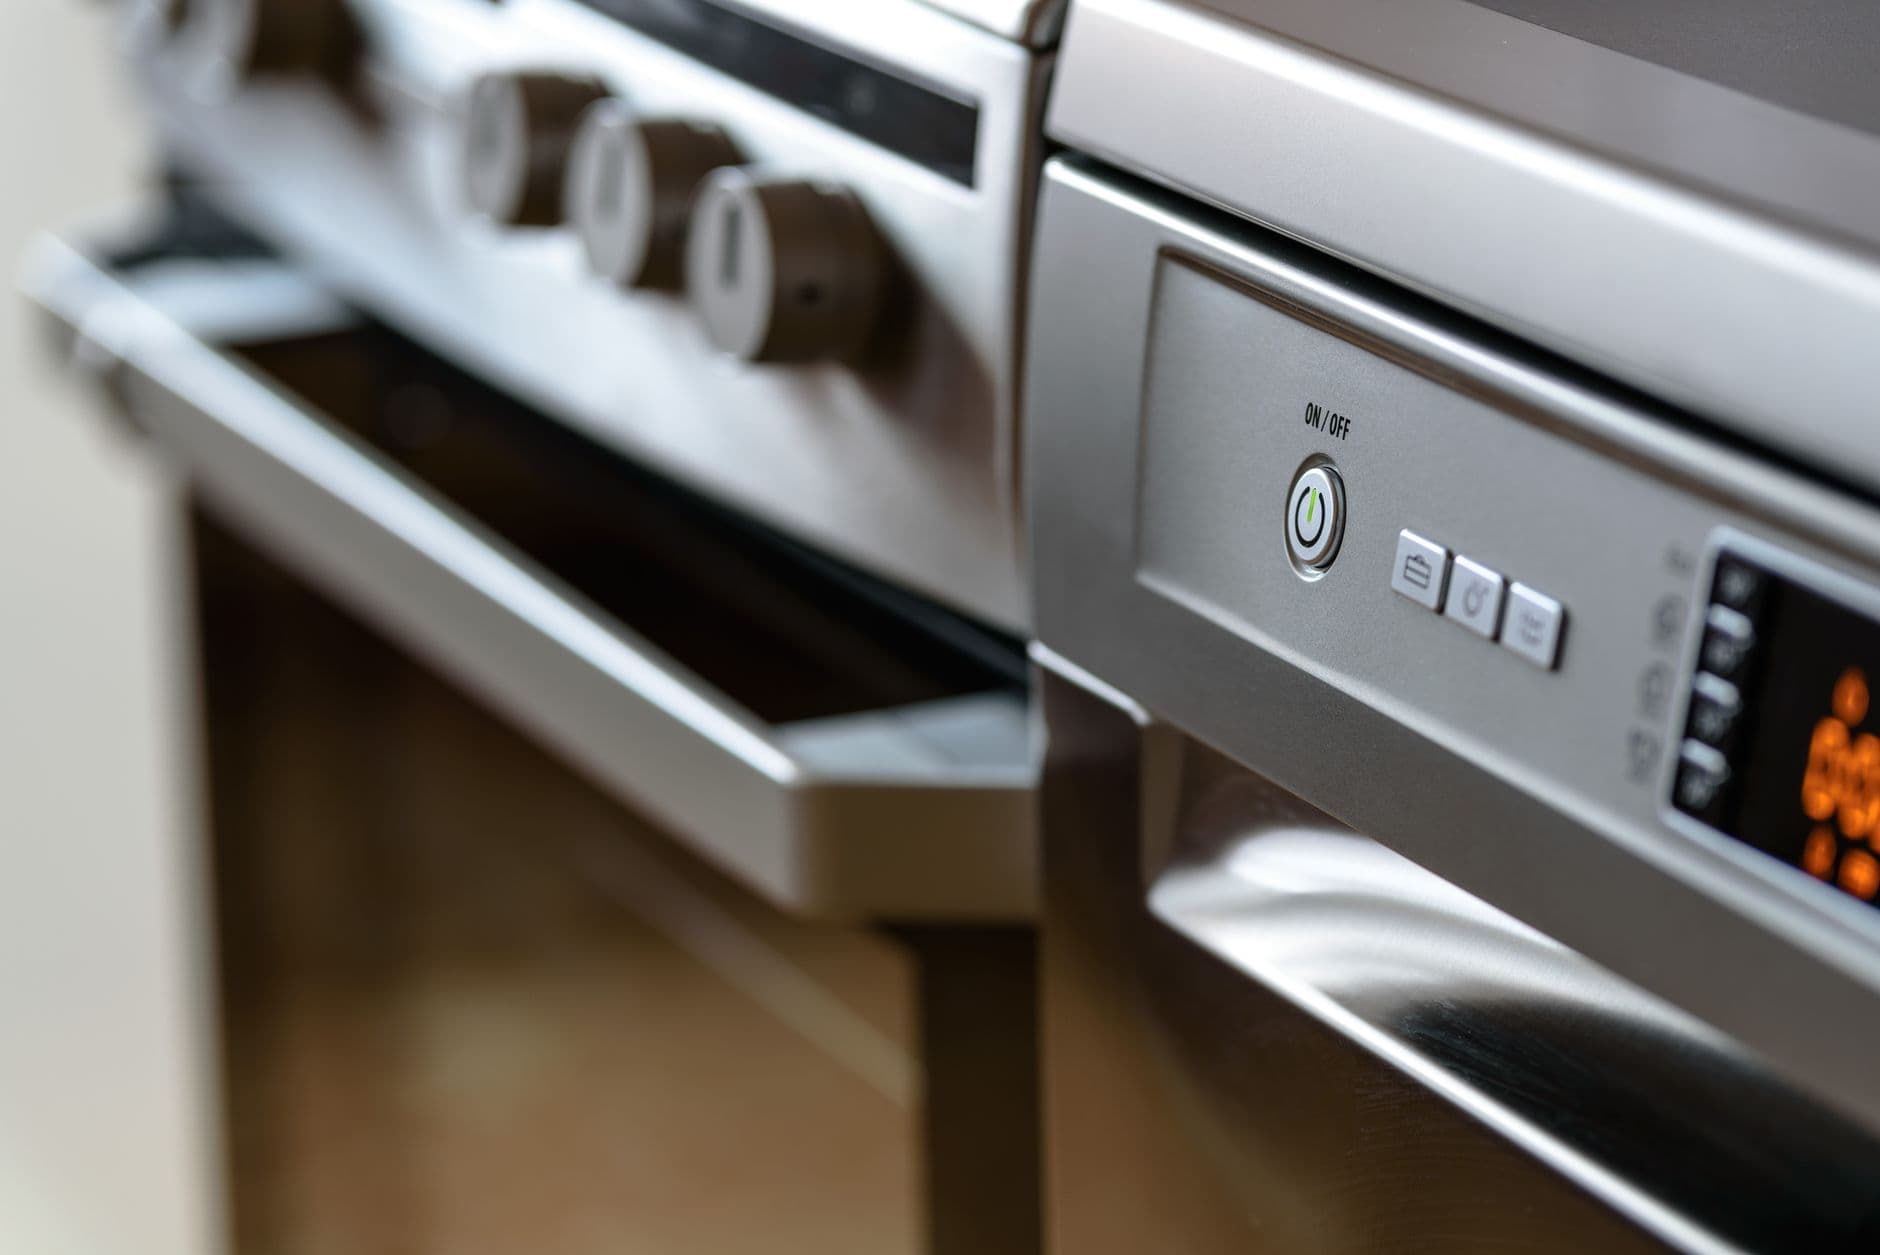
Different baking methods can yield varying results, even with the same recipe. I tried three approaches: baking in a conventional oven, using a Dutch oven, and an automatic bread maker. Each had its pros and cons. The conventional oven allowed for easy temperature adjustments, essential for perfecting crust texture. However, it required constant vigilance to avoid burning.
Using a Dutch oven was fantastic for retaining moisture and achieving a professional-style crust. Pre-heating it was a bit of a chore, but the results were worth it. The automatic bread maker was the most convenient, ideal for those who want less hands-on involvement, but it produced a loaf with a softer crust and an unusual, more compact shape.
| Method | Pros | Cons |
|---|---|---|
| Conventional Oven | Easily adjustable temperature, crusty exterior | Requires constant monitoring |
| Dutch Oven | Retains moisture, crunchy crust | Heavy and requires pre-heating |
| Bread Maker | Set-and-forget convenience | Limited crust texture, odd shape |
Practical Tips for New Bakers
Here are some practical tips based on my experience:
- Use a kitchen scale to measure ingredients for accuracy. This helps maintain consistency across your bread batches.
- Keep a thermometer handy to check water temperature for yeast activation.
- Don't rush the proofing process; patience ensures better texture.
- Practice the 'windowpane test' to check dough readiness. A thin, translucent dough signals proper gluten development.
- Preheat your oven or Dutch oven for a more consistent bake.
- Experiment with different flours and hydration levels to find your preferred crumb texture.
- Consider letting the dough rise overnight in the fridge for deeper flavors; this is known as cold fermentation.
Reader Q&A
Q: What type of flour is best for bread?
I found that bread flour works best due to its higher protein content, which aids in gluten development. All-purpose flour can work in a pinch, but the results may vary in terms of texture.
Q: Can I use instant yeast instead of active dry yeast?
Yes, just remember that instant yeast doesn't need to be pre-activated with water and can be mixed directly with the flour. I found it convenient and slightly faster.
Q: How do I know when the bread is done baking?
A digital thermometer can be used to check the internal temperature, which should be around 200°F. Alternatively, tapping the bottom of the loaf for a hollow sound is a practical test.
Q: Why is my bread dense?
Dense bread is often due to under-proofing or incorrect water temperature affecting yeast activation. Ensure your dough has doubled during proofing, and check your water temperature carefully.
EditorialOur Take
Baking bread at home is a richly rewarding experience once you navigate the initial learning curve. It's not merely about following a recipe; it's about understanding the science behind each step. The joy of pulling a golden loaf from your oven makes the effort worthwhile, especially when shared with loved ones. This isn't for someone seeking instant gratification, but if you have the patience and a love for tinkering in the kitchen, home bread baking is a skill you'll relish mastering.
While it can be intimidating at first, the satisfaction of slicing into a loaf you've crafted with your own hands is unparalleled. Whether you stick with simple white loaves or venture into sourdough and other varieties, the possibilities are endless. For anyone willing to invest time learning and experimenting, this endeavor can become a fulfilling, therapeutic hobby.
Published on .
Share now!

Sophia Bennett
Kitchen & Pantry Writer
Sophia Bennett covers the kitchen for Dailynib, from pantry organization to keeping produce fresh longer. She cooks most nights and treats her own kitchen as a testing lab for storage and prep tips. Sophia likes practical advice that saves time and reduces food waste. Sophia uses AI tools to research, draft, and help keep these articles accurate.
More from Sophia →The information on this site is of a general nature only and is not intended to address the specific circumstances of any particular individual or entity. It is not intended or implied to be a substitute for professional advice.
Get our best tips in your inbox
A short, practical email now and then. No spam, and you can unsubscribe anytime.