Published on:
10 min read
Drywall Repair Trends: Easy Fixes Every Homeowner Needs
Drywall repair has quietly changed in the past few years. Homeowners are no longer limited to messy patch kits, rough texture matches, and expensive contractor visits for every dent or nail pop. New lightweight compounds, dust-control sanding tools, peel-and-stick patches, smartphone color matching, and better repair workflows have made small and medium drywall fixes far more approachable for the average DIYer. This article breaks down what is actually changing, which repair methods are worth using, where DIY makes sense, and when calling a pro is the smarter move. You’ll get practical guidance for common problems like nail pops, doorknob holes, stress cracks, water damage, and texture mismatches, along with realistic costs, pros and cons, and step-by-step advice that helps you avoid the mistakes that make repairs obvious after paint dries.
- •Why Drywall Repair Is Getting Easier for Homeowners
- •The Most Common Drywall Problems and the Best Modern Fix for Each
- •Tools and Materials That Actually Save Time, Dust, and Money
- •DIY or Hire a Pro? A Realistic Way to Decide
- •What Homeowners Get Wrong Most Often and How to Avoid It
- •Key Takeaways and Practical Tips for Better Drywall Repairs
- •Actionable Conclusion
Why Drywall Repair Is Getting Easier for Homeowners
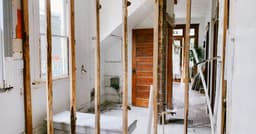
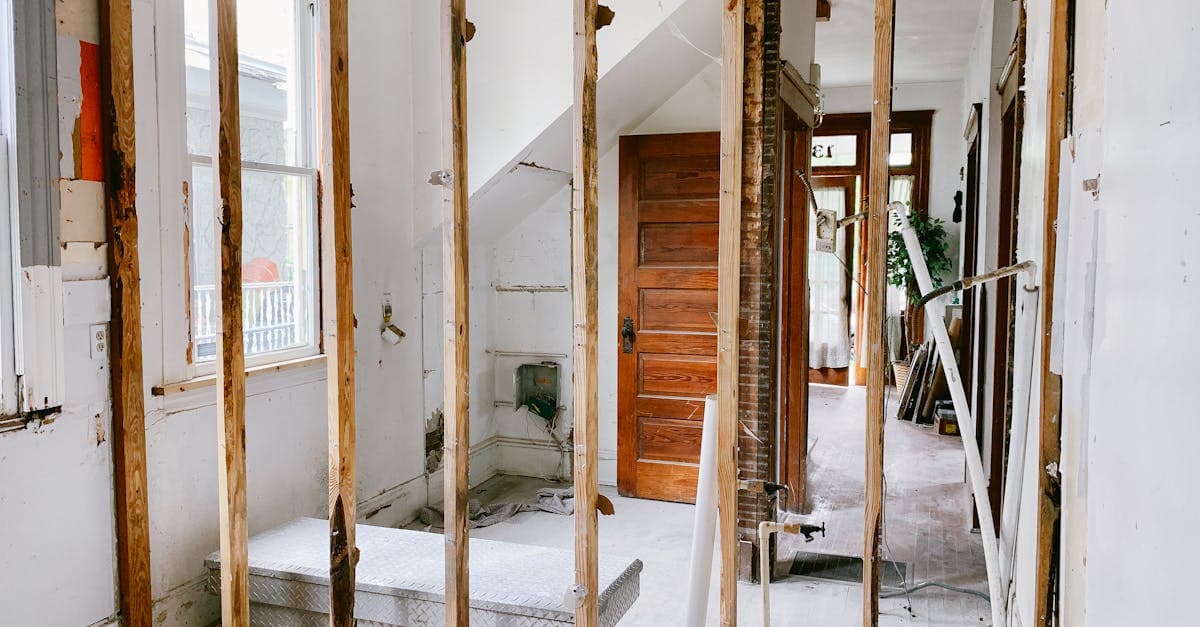
Drywall repair used to feel like a niche trade skill. If you could fill a hole, you still had to deal with shrinking compound, visible seams, uneven sanding, and paint that flashed under daylight. What has changed is not the drywall itself so much as the products and process around it. Home centers now stock lightweight spackling compounds that dry faster, sand easier, and crack less than older heavy formulas. Peel-and-stick mesh patches have also improved, which matters because small wall damage is incredibly common. In busy households, moving furniture, slamming doors, or hanging shelves incorrectly can leave dents and punctures several times a year.
One trend driving DIY drywall repair is cost. In many U.S. markets, a handyman visit for a minor patch can run from about 150 dollars to 400 dollars once travel, labor minimums, and repainting are included. For larger repairs, professional drywall work may climb into the high hundreds or low thousands depending on texture and paint blending. That math pushes homeowners to learn at least the basics.
Another trend is finish quality. People are more aware that a repair is not complete when the hole disappears. The wall has to look consistent under natural light, especially in open-plan homes where side lighting exposes every ridge. That is why modern repair kits now focus on dust control, feathered edges, and texture matching.
Why it matters: good drywall repair protects appearance, resale value, and maintenance budgets. A wall with scattered patches signals neglect. A clean, nearly invisible repair keeps a room looking cared for without turning a small issue into a weekend-long frustration.
The Most Common Drywall Problems and the Best Modern Fix for Each
Most drywall damage falls into a handful of categories, and each one responds best to a different repair method. Treating every problem with the same tub of compound is one reason DIY repairs fail. A nail pop, for example, is not just a cosmetic bump. It often means slight framing movement or a fastener that no longer holds as intended. The better fix is to drive a drywall screw above and below the pop, remove or reset the loose fastener, then skim the area.
Small dents and dings from chairs, kids, or everyday traffic are the easiest category. Lightweight spackle works well here because it dries quickly and sands with less effort. For holes around 1 to 4 inches, self-adhesive patch squares save time, but they still need multiple thin coats to disappear. A common mistake is trying to build all the coverage in one pass.
Stress cracks above doors and windows are trickier. These spots move more than people realize as seasons change. Flexible patch compounds or paper tape embedded in joint compound tend to outperform a quick smear of filler. Water damage is the category where homeowners most often waste time. If the drywall feels soft, swollen, or stained by an unresolved leak, replacing the section is usually smarter than patching over it.
Pros of modern repair-specific methods:
- Better adhesion and less cracking
- Faster drying times
- Easier sanding for beginners
- Some fast-dry compounds set too quickly for inexperienced users
- Mesh patches can leave a hump if not feathered wide enough
- Water stains can bleed through unless sealed with stain-blocking primer
Tools and Materials That Actually Save Time, Dust, and Money
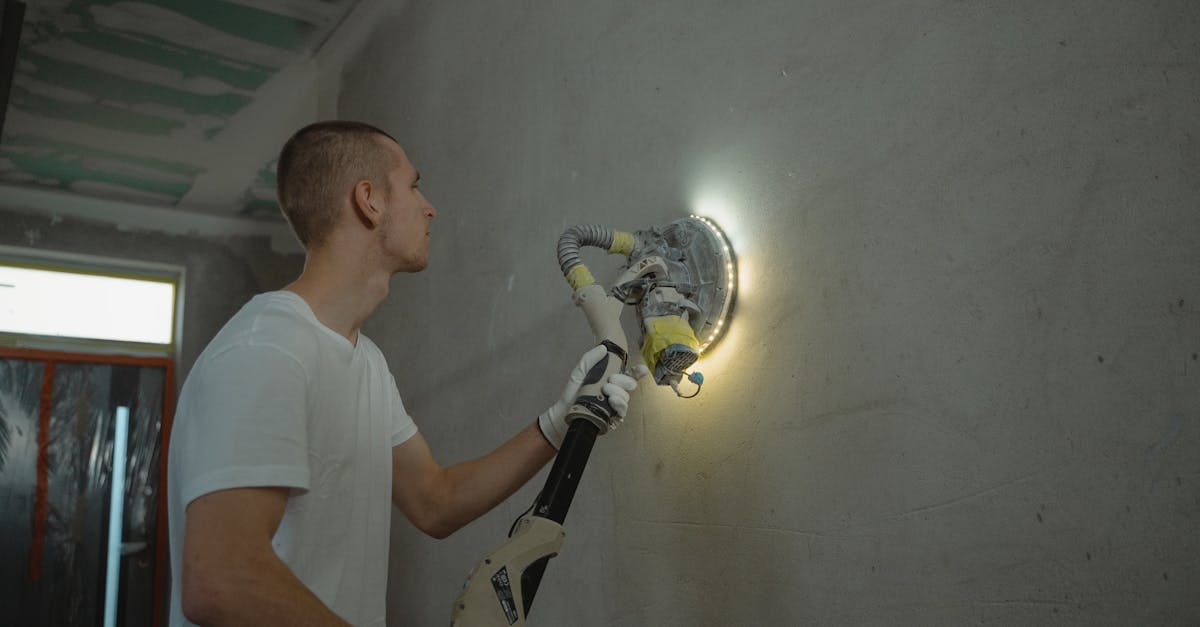
The biggest upgrade in drywall repair is not glamorous. It is dust control and workflow efficiency. Ten years ago, many homeowners still sanded aggressively with cheap folded sandpaper and ended up coating the room in fine white powder. Today, better options exist. Sanding sponges, dust-catching pole sanders, and shop-vac-compatible sanding attachments make cleanup far easier, which is a major reason more people are willing to tackle repairs themselves.
A practical starter kit does not need to be expensive. For most homes, you can handle 80 percent of common wall damage with a 4-inch and 6-inch taping knife, lightweight spackle, setting-type joint compound, sanding sponge, utility knife, drywall screws, self-adhesive mesh patch, stain-blocking primer, and touch-up paint. In many markets, that basic setup costs less than one minor service call.
Product quality matters more than brand loyalty. Cheap putty knives flex unpredictably and leave ridges. Low-quality primer often flashes under paint, especially on eggshell walls. If you have textured walls, aerosol orange-peel sprays can help, but test on scrap cardboard first because heavy-handed spraying is one of the fastest ways to make a repair stand out.
Real-world example: a homeowner fixing a 3-inch doorknob hole might spend 25 dollars to 60 dollars on supplies if they already own a knife and sandpaper. Hiring the job out could cost four to six times that after patching, sanding, priming, and painting.
Why it matters: better tools do more than save effort. They reduce the visible mistakes that make homeowners think drywall repair is harder than it really is.
DIY or Hire a Pro? A Realistic Way to Decide
The smartest drywall trend is not doing everything yourself. It is knowing which repairs are truly DIY-friendly and which ones become expensive if handled poorly. A few nail pops, a small anchor hole, or a fist-sized puncture in a flat wall are usually reasonable projects for a patient homeowner. The risk is low, materials are cheap, and you can often redo the finish coat if needed. But once damage involves ceilings, repeated cracking, extensive water intrusion, or hard-to-match textures, the equation changes quickly.
Ceilings are a good example. Even a simple patch overhead is physically awkward, and poor sanding becomes obvious when light washes across the surface. If the ceiling has a knockdown or popcorn texture, blending can take more skill than the patch itself. Likewise, if a crack keeps returning, the cosmetic issue may point to settling, framing movement, or moisture problems. In that case, paying for diagnosis can save money.
Pros of DIY drywall repair:
- Lower cost on minor repairs
- Faster scheduling since you can work immediately
- Useful skill for long-term home maintenance
- Texture and paint matching can be frustrating
- Rushing dry times often creates more sanding and rework
- Incorrect repairs may lower visual appeal before a sale or showing
What Homeowners Get Wrong Most Often and How to Avoid It
The most common drywall repair mistake is applying too much compound too fast. Homeowners see the hole, fill it flush in one pass, and assume sanding will fix everything. It rarely does. Thick applications shrink, crack, and create a raised patch that catches light. The better approach is to build the repair in thin layers, feathering each coat wider than the last. A patch that seems slightly larger during the process usually disappears better after primer and paint.
The second big mistake is skipping primer. Fresh compound and patched paper absorb paint differently than the surrounding wall. Even if the color matches perfectly, the sheen often will not. That is why repaired spots can look dull or shiny depending on lighting. A stain-blocking or drywall-specific primer creates a more uniform surface before paint goes on.
Texture mismatch is another pain point. Smooth walls are unforgiving because every scrape shows. Textured walls are deceptive because homeowners think texture will hide flaws, but a bad texture patch can stand out even more. Practice first. Spray a test panel, let it dry, and compare from several angles.
Practical tips homeowners should follow:
- Use setting compound for deeper fills and regular finishing compound for final skim coats
- Sand less than you think and knife more cleanly than you think
- Check repairs under a work light or daylight before painting
- Keep leftover paint labeled by room and sheen for future touch-ups
Key Takeaways and Practical Tips for Better Drywall Repairs
If you want drywall repairs to look professional without spending like a professional, focus on process rather than speed. The best results come from choosing the right repair type, using thin coats, controlling dust, and treating paint and primer as part of the repair instead of an afterthought. That sounds simple, but in practice it is where most homeowners save the most money and frustration.
Start by classifying the damage. Dings and shallow gouges need lightweight filler. Medium holes need a patch and multiple coats. Nail pops need fastening correction before cosmetic work. Stains or softness require moisture investigation first. This diagnosis-first approach is one of the biggest shifts in modern home maintenance content and product design, and it is a useful one.
Keep this practical checklist in mind:
- Clean loose dust and torn paper before applying any compound
- Use drywall screws, not just filler, when movement is part of the issue
- Let each coat dry fully, even if the label promises fast results
- Prime every repaired area before touch-up paint
- View the patch from the side, not just straight on
- For visible rooms, repaint a larger section of wall if touch-up flashing is obvious
Actionable Conclusion
Drywall repair is no longer a mysterious job reserved for contractors, but the best results still come from treating it like a finish trade, not a quick patch-and-paint chore. Today’s trends favor lightweight fillers, better dust control, repair-specific products, and smarter decision-making about when to replace versus patch. For most homeowners, that means small dents, nail pops, and modest holes are realistic DIY wins.
Your next step is simple: walk through your home, identify the type of damage on each wall, and sort it into three groups: easy DIY, needs better tools, or should be professionally assessed. Buy materials based on the actual problem, not a one-size-fits-all kit. If you repair in thin coats, prime before painting, and check your work in good light, you will avoid the most obvious mistakes and keep your walls looking clean, solid, and resale-ready.
Published on .
Share now!
ZR
Zoe Richards
Author
The information on this site is of a general nature only and is not intended to address the specific circumstances of any particular individual or entity. It is not intended or implied to be a substitute for professional advice.